Set Up and Use iPhone As Microphone on Mac
First and foremost, let’s check out the important requirements for using iPhone as Mac’s microphone input!
Ensure That Your iPhone and Mac are Connected to the Same Apple ID
Since Continuity Camera is part of the long-existing Continuity suite, make sure both your iPhone and Mac are linked with the same iCloud account. If you haven’t done it yet, do it now.
On your iPhone: Go to the Settings app -> Apple ID banner to check the Apple ID that you are using. On Mac: Open the System Settings app -> Apple ID banner to view your Apple ID.
Make Sure Your Devices are Updated
Another important thing that you should do without fail is to update your devices. Keep in mind that the Continuity Camera Webcam has arrived in iOS 16 and macOS 13 Ventura.
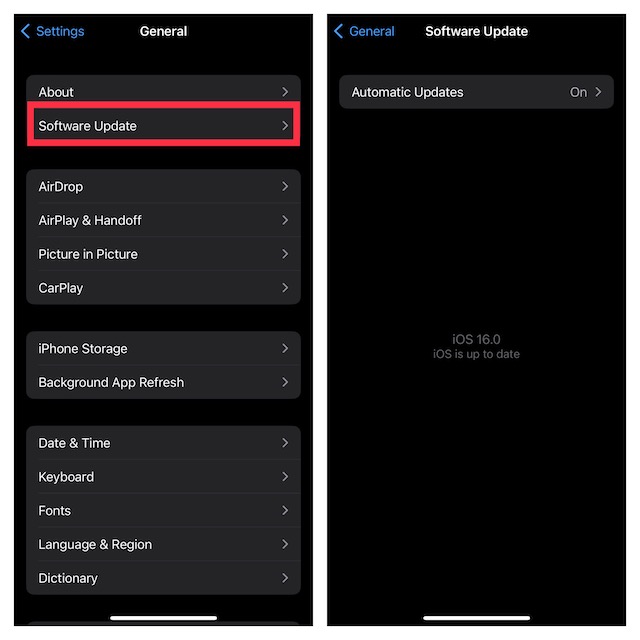
On your iPhone: Head over to the Settings app -> General -> Software Update. Then, download and install the latest version of iOS on your iPhone.
On your Mac: Navigate to the System Settings app -> General -> Software Update. Then after, download and install the latest version of macOS on your device.
Be Sure You Have the Compatible iPhone
Just like many other notable features such as Live Text in Video, Siri Call Hangup, and background removal tool, the Continuity Camera has also been restricted to the newer iPhone models. Therefore, make sure you have a supported device. Have a look at the list of compatible devices:
iPhone XR iPhone XS iPhone XS Max iPhone 11 iPhone 11 Pro iPhone 11 Pro Max iPhone SE 2 iPhone SE 3 iPhone 12 iPhone 12 mini iPhone 12 Pro iPhone 12 Pro Max iPhone 13 iPhone 13 mini iPhone 13 Pro iPhone 13 Pro Max iPhone 14 iPhone 14 Plus iPhone 14 Pro iPhone 14 Pro Max
Make Sure You Have Enabled the Continuity Camera on Your iPhone
Last but not least, ensure that the Continuity Camera is active on your iPhone.
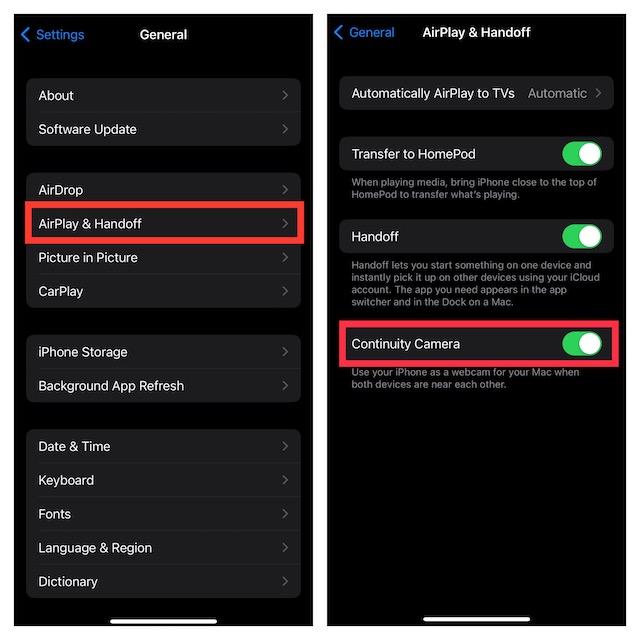
Head into the Settings app on your iPhone -> General -> AirPlay & Handoff. Finally, make sure the switch next to the Continuity Camera is set to the ON position.
Set Up and Use iPhone Microphone on Mac
After you have taken care of all the basics, follow the steps below to use iPhone as Mac’s mic input.
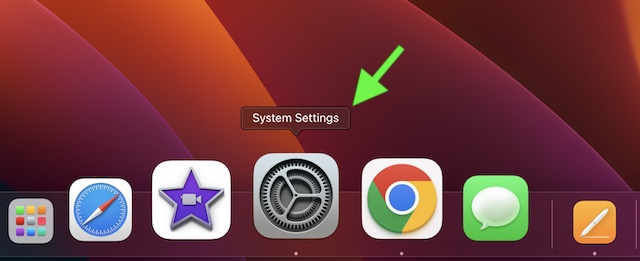
- On your Mac running macOS 13 Ventura or later, open the System Settings app. Or, click on the Apple menu and choose System Settings in the drop-down menu.
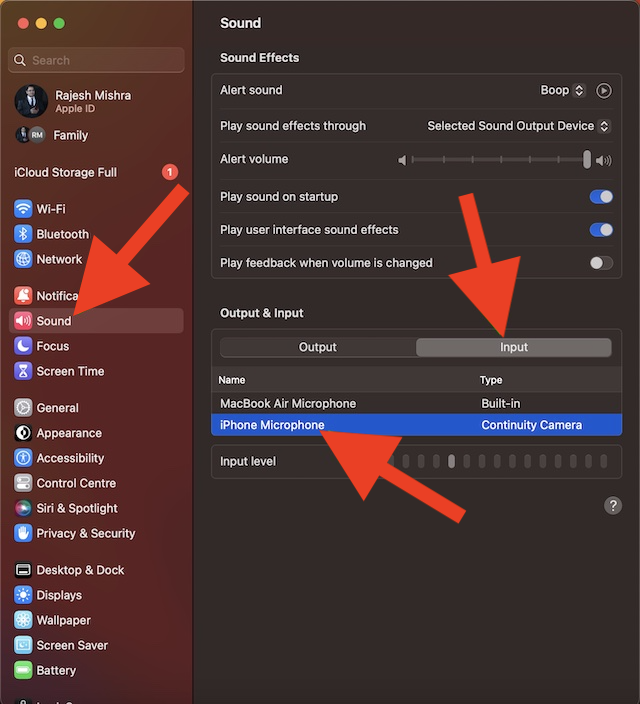
- Click on Sound in the sidebar.
- Go to the Output & Input section and then click on the Input tab.
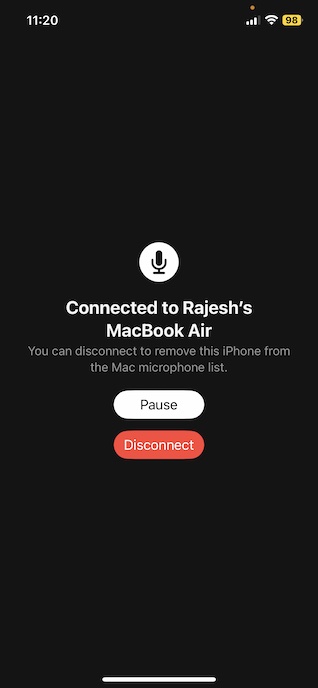
- After that, choose your iPhone and you are all set! As soon as you select your iPhone as Mac’s microphone input, you will hear a ping sound on the iPhone. Moreover, you should also see a “Connected to…” screen as the confirmation. At any time, you want to stop using your iPhone’s microphone, tap on the Disconnect button. And if you wish to pause the functionality, tap on the Pause button on your iPhone’s screen.
My Thoughts…
Frankly speaking, Continuity Camera Webcam is among my favorite features in iOS 16. As someone who has to create hands-on guides and tutorials for sharing on social networking sites including YouTube, it has won me over right from the get-go. Barring a few hiccups, it has worked reliably for me. What about you? It would be great to have your invaluable feedback in the comments section below. Read more: How to Enable and Use Stage Manager in macOS 13 Ventura on Mac Like a Pro