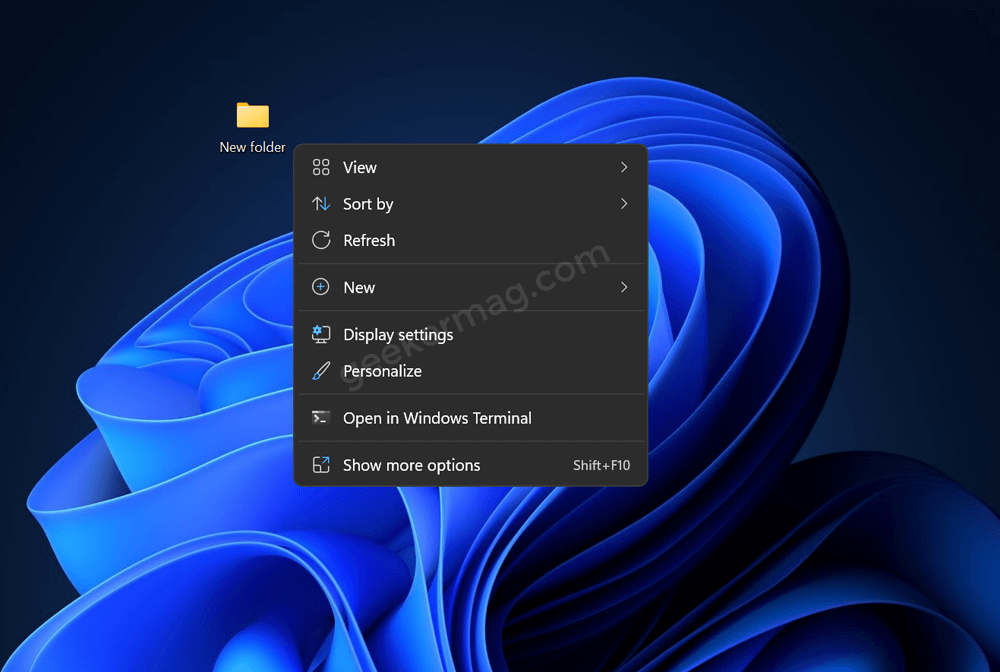
After upgrading from Windows 10 to Windows 11 you will notice that the company improved the right-click context menu. Due to the use of acrylic material, it looks amazing with the overall modern design of Windows 11. Right-click context menu in Windows 11 offers limited options as compared to the one available in Windows 10. When you make a right-click it shows the following context menu with few options: To see the full list of options or Windows 10 style context menu users either have to click ‘Show more options or use the SHIFT + F10 or Fn + SHIFT + F10 key combination Overall, the improved context menu shows more useable options. In case, the desired option is not available in the list, then they can use the method discussed above to unlock the full right-click context menu. There are lots of users who’re complaining about the compact context menu in Windows 11 from the day the first build was rolled out by the company. The majority of users want, a full right-click context menu to open up with default settings.
Restore Full Right-click Context Menu in Windows 11
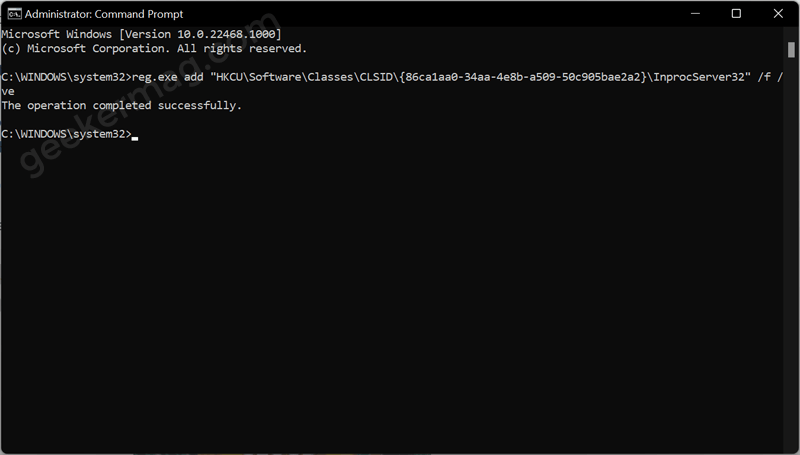
If you made up to this blog post, then you’re one of those users who want to disable the “Show more options” context menu in Windows 11. Officially there’s no way to do that, but there’s a workaround to make that thing happen. Here’s how you can do that: Launch Command Prompt with Admin right. When the UAC dialog box appears, click Yes to continue. Here, you need to copy-paste this command: reg.exe add “HKCU\Software\Classes\CLSID{86ca1aa0-34aa-4e8b-a509-50c905bae2a2}\InprocServer32” /f /ve And hit enter to execute it. After that, you will get a message “The operation completed successfully” to confirm command execution is done perfectly. Now, you need to restart File Explorer in Windows 11. From now onwards, whenever you right-click on it will show the full context menu instead of the one from Windows 10. This how it will look like:
Restore Windows 11 Right Click Context menu
At any point, you want to restore right-click context menu that comes out of the box in Windows 11, then here’s how you can do that: In the Elevated Command Prompt window, you need to execute this command: reg.exe delete “HKCU\Software\Classes\CLSID{86ca1aa0-34aa-4e8b-a509-50c905bae2a2}\InprocServer32” /f /ve And, restart File Explorer again.
Alternate option – Use Winaero Tweaker
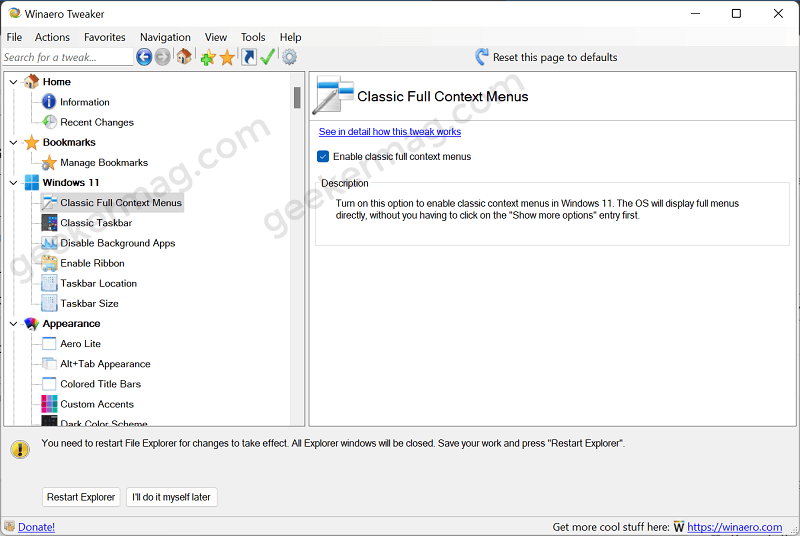
In case, you’re not comfortable with Command Prompt method, then you can take the help of Winaero Tweaker. Download and install it on your Windows 11 PC. Next, launch Winaero Tweaker. Here, locate Windows 11 section on the left, and then on the right side, check the box for the option “Enable classic full context menu“. At last, click on the Restart Explorer option. As simple as that! Repeat the same method and uncheck the same option to disable the classic right-click context menu in Windows 11.