What is Windows Update Error Code 0x80070003?
If you are reading this, it means you have already encountered the issue where the Windows Update process stopped the update download and threw up the error 0x80070003. While the outcome is the same always, the underlying reason might vary from system to stem. The error usually comes up while trying to update Windows and can happen due to several reasons. It could be because Windows Update got stuck during the installation process, could not be installed, or when updates get installed but the process cannot be finished. This can happen due to missing Windows Update files or corrupted components in the downloaded update package.
Fix Windows Update Error Code 0x80070003?
Thankfully, there are several ways to fix the Windows Update Error Code 0x8007000 in Windows 11 and get the latest update installed on your system. Let’s take a look at these solutions.
1. Windows Update Troubleshooter
One of the first steps to fix the Windows Update Error Code 0x8007000 is to run the Windows Update Troubleshooter built in the operating system. Here’s how to do it.
- Press Win + R (Windows logo + R) keys on your keyboard to open the Run command box.
- Type Control and hit enter to open the Control Panel.
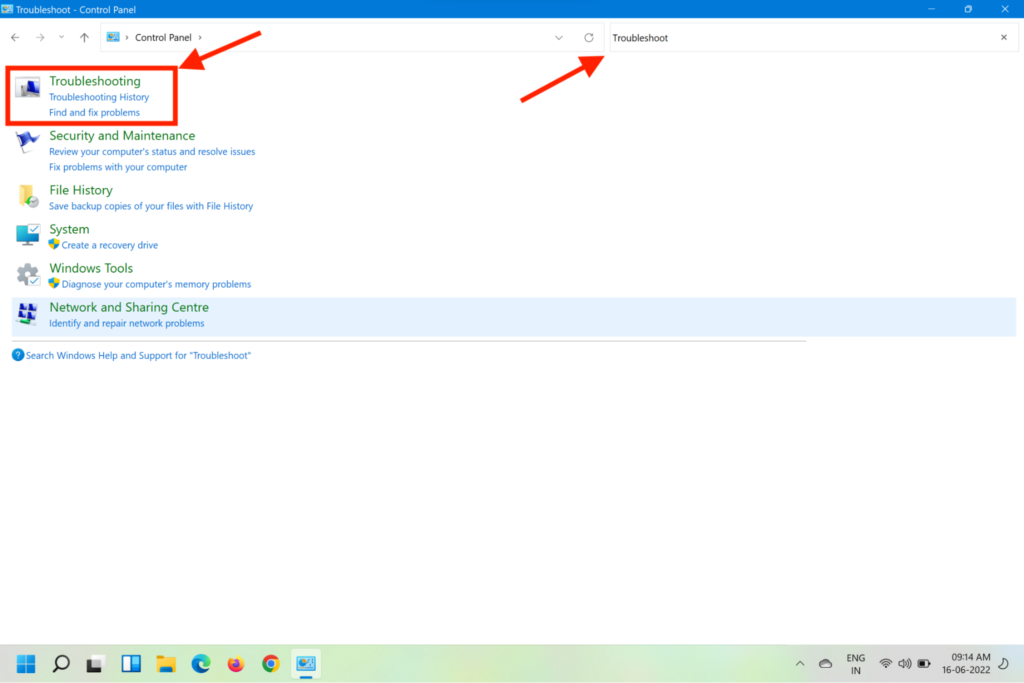
- In the control panel window, type troubleshoot in the search box on top and press enter.
- From the search results, click on Troubleshooting.
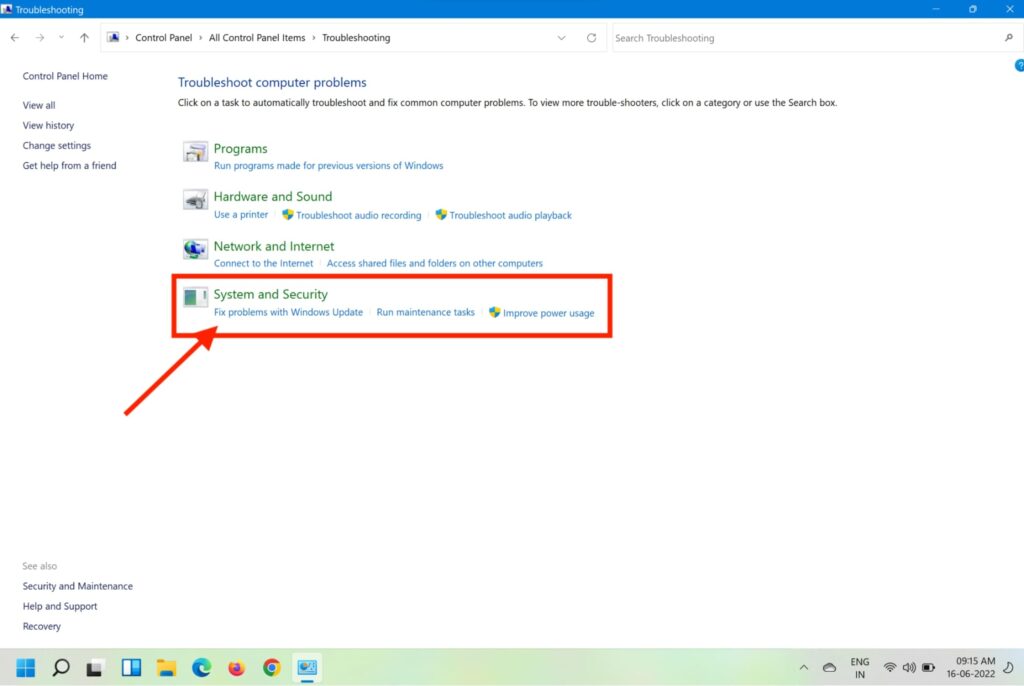
- On the next page, click on Fix problems with Windows Update under System and Security.
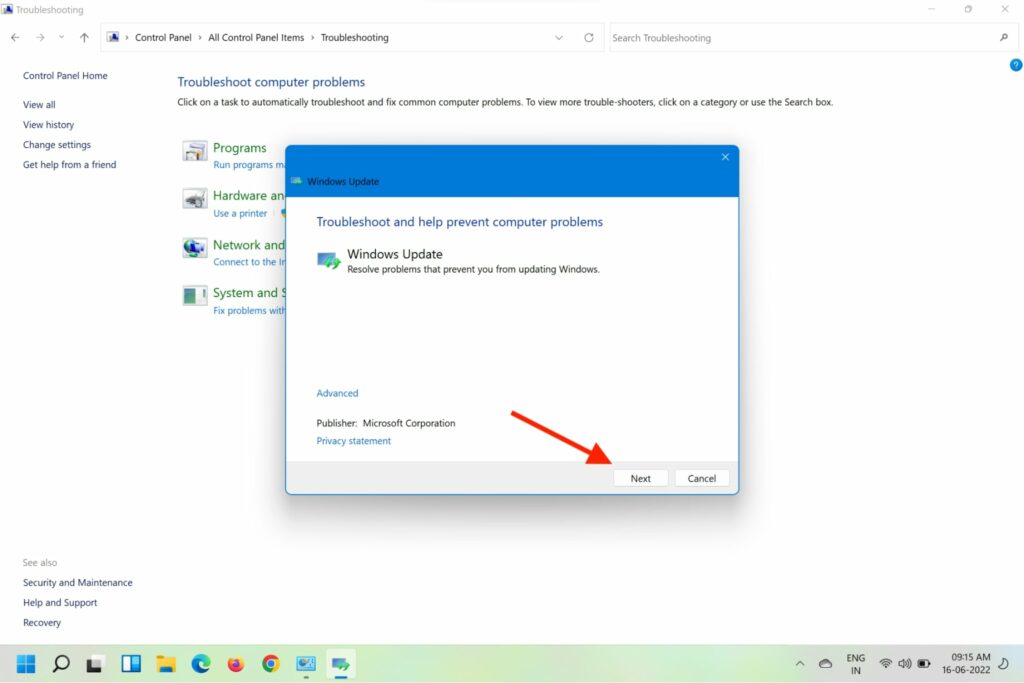
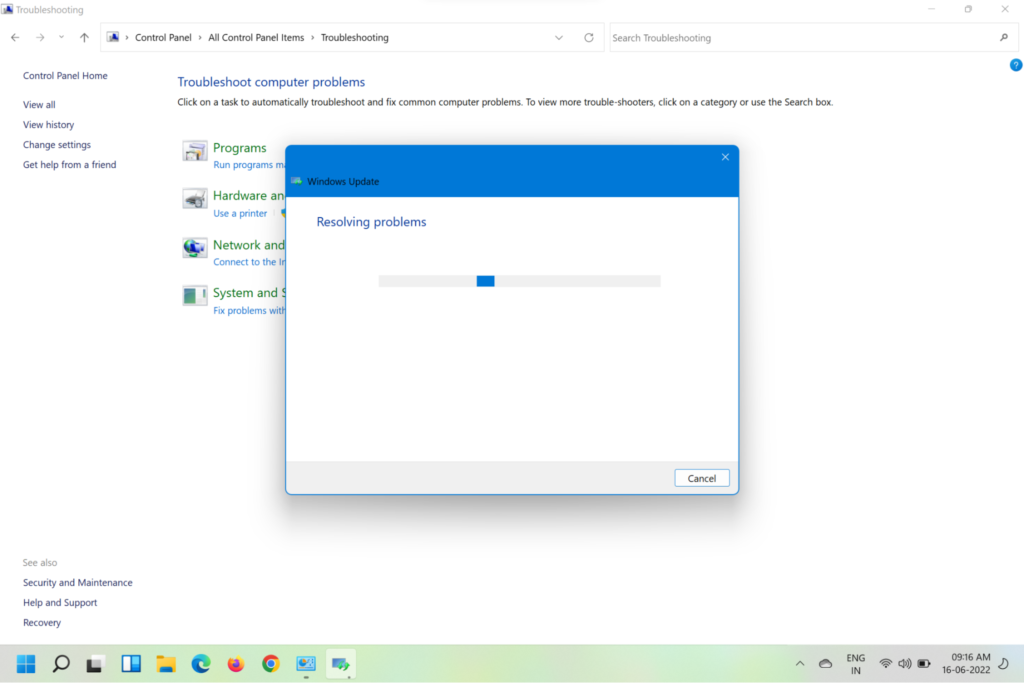
- Click Next on the prompt that comes up and let the initial scan finish.
- If the scan finds a fix, click on Apply this fix and follow the on-screen instructions.
- Once the fix is applied, restart your Windows 11 machine and try updating it again. If the Windows Update still fails with the same error code, move on to the next method listed below.
2. Restart Windows Update Service
Windows 11 has a persistent bug that causes certain services to be in a state of limbo where they are neither closed nor opened. Due to this, they are inaccessible during the process of Windows update. This issue can be fixed by restarting the main Windows Update Service through the steps below.
- Press Win+R to open the Run command box.
- Type cmd in the Run box and press Ctrl + Shift + Enter to open Command Prompt with admin access.
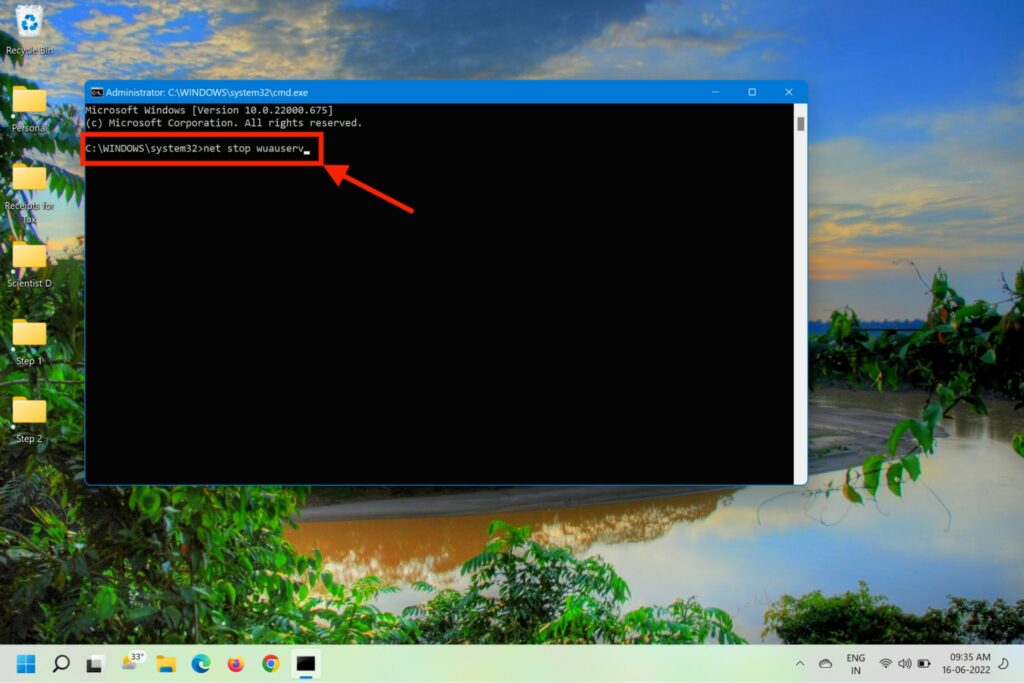
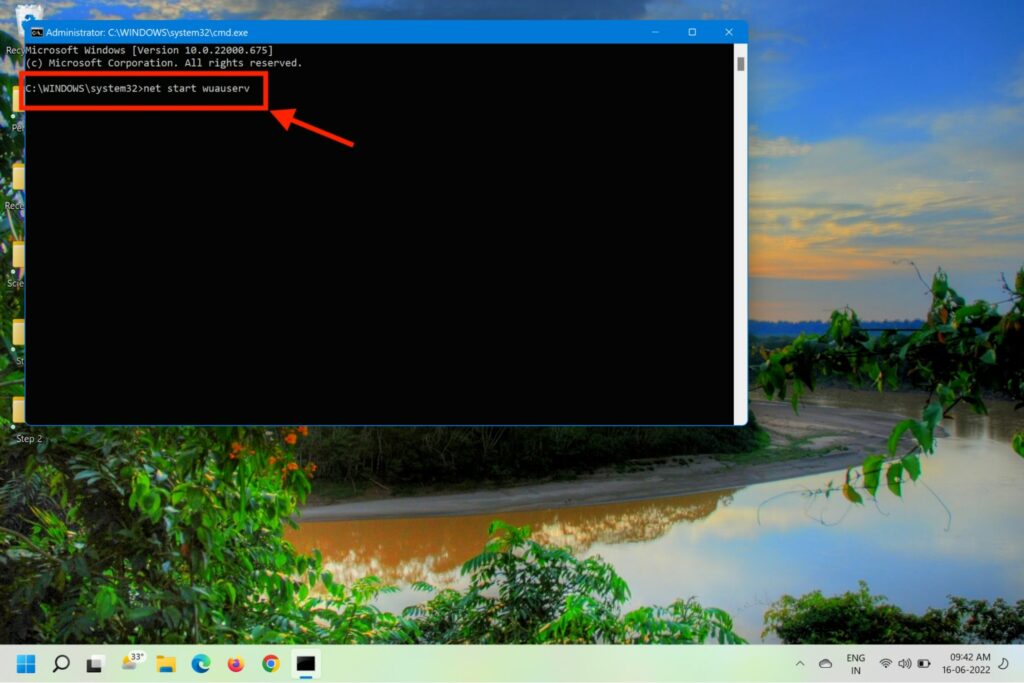
- Type commands – net stop wuauserv, net stop regsvr32 %windir%\system32\wups2.dll, and net start wuauserv. Type the above commands one after another while hitting Enter after each command to restart and re-register the main Windows Update service. Once each command has been processed successfully, try installing the failing update again.
3. Clean the DataStore Folder
Several users have reported that the issue occurs when there are corrupt references in the Windows log file. Deleting the DataStore.edb file fixes the issue for many and here’s how to do it.
- Press Win + E on your keyboard to open File Explorer.
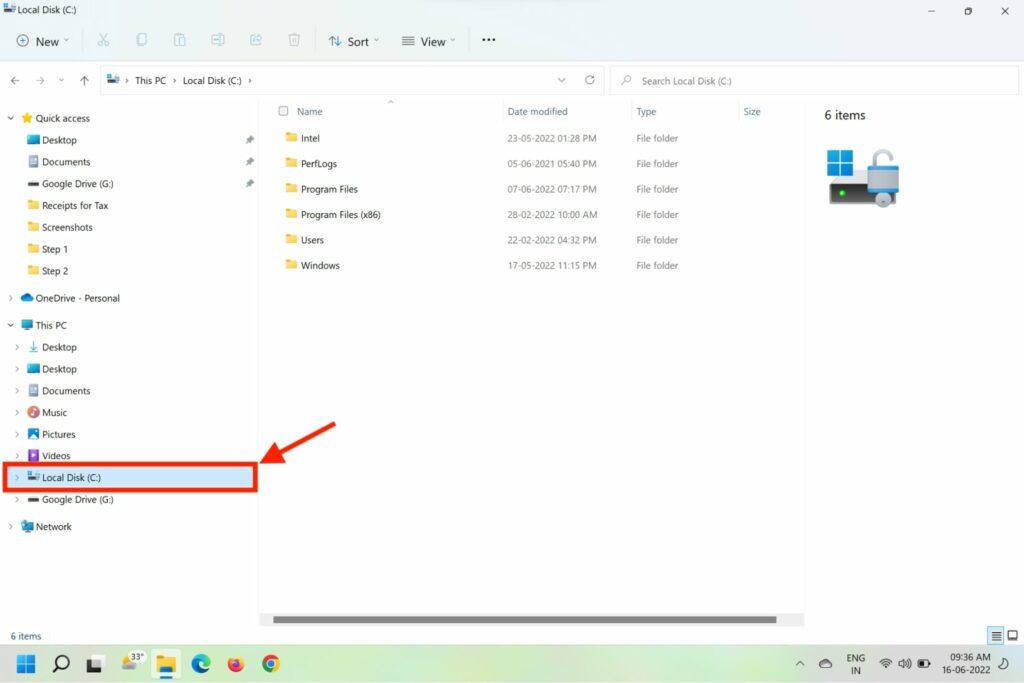
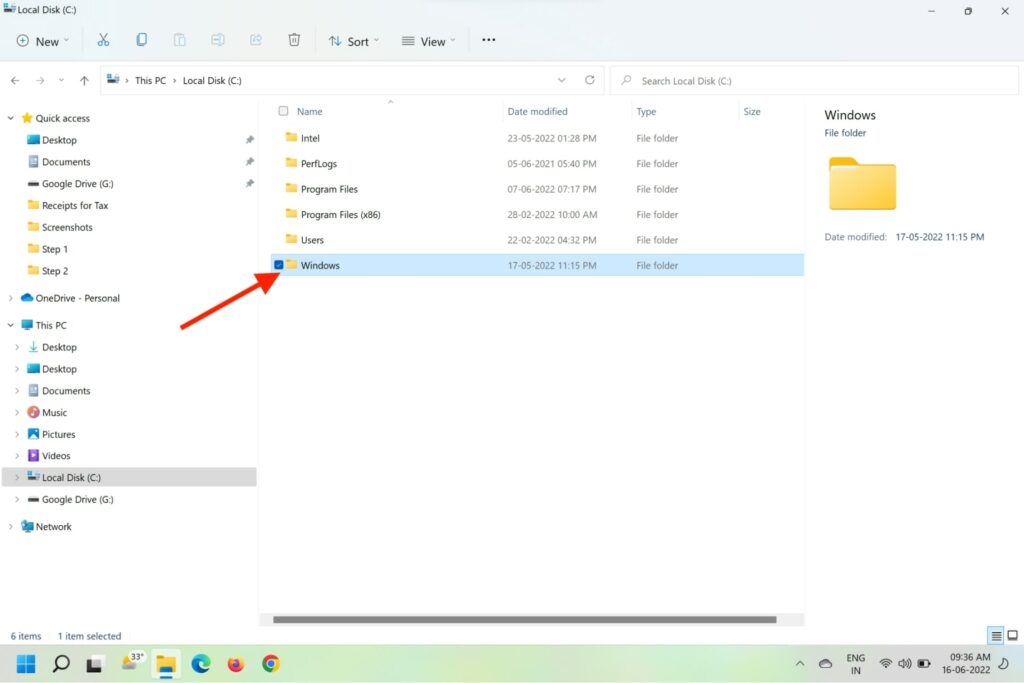
- Go to System (C:) drive and open the Windows folder.
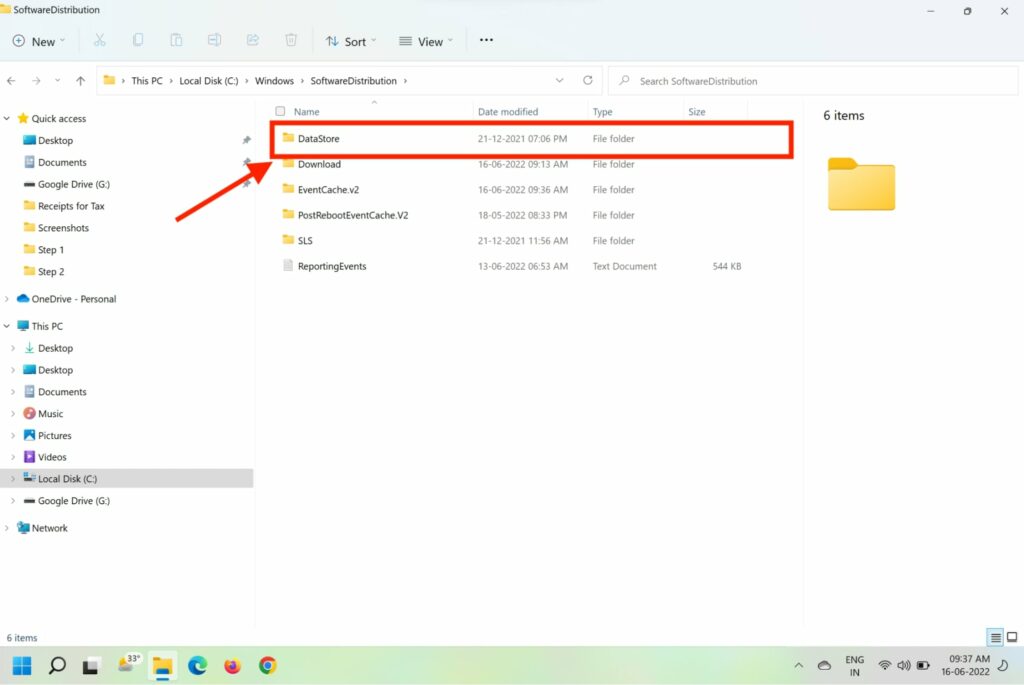
- Look for the Software Distribution folder and open it.
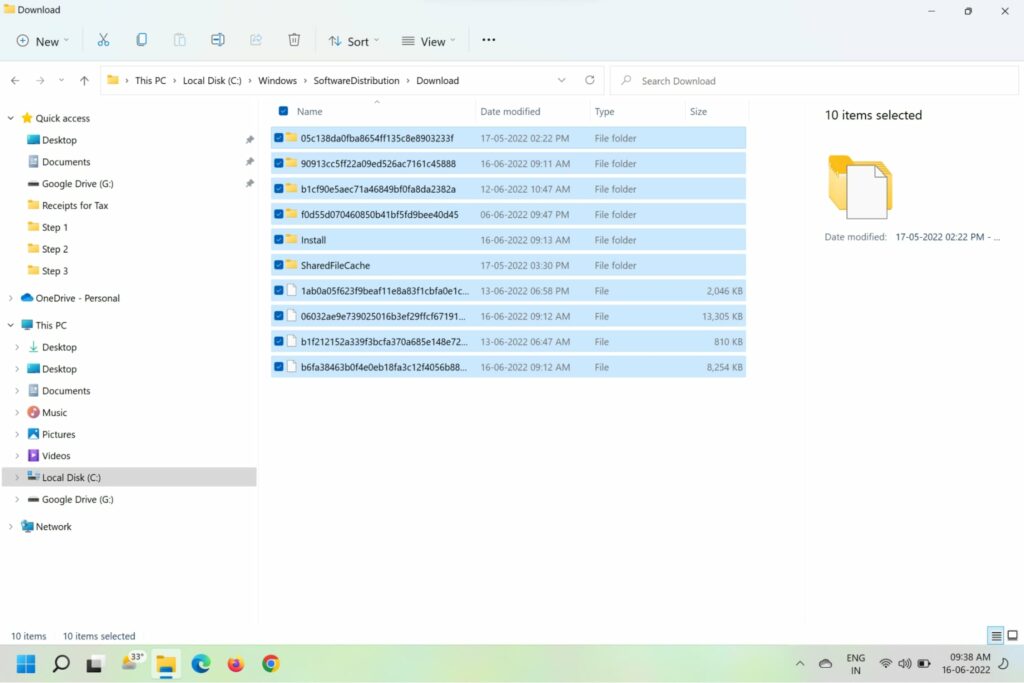
- On the next page, open the DataStore folder and then open Download from the list of sub-folders.
- Delete all content from the Download folder in DataStore. Now, restart your computer and try to reinstall the failing update.
4. Reset Windows Update Component in PowerShell
At times several Windows Update dependencies like MSI Installer, Cryptographic services, and BITS services are responsible for the Windows Update Error Code 0x80070003. Here are the steps to completely reset these Windows Update dependencies.
- Press Win+R to open the Run command box.
- Type cmd in the Run box and press Ctrl + Shift + Enter to open Command Prompt with admin access.
- Type commands – net stop wuauserv, net stop cryptSvc, net stop bits, and net stop msiserver.
- Type the above commands one after another while hitting Enter after each command to stop all Windows Update-related services.
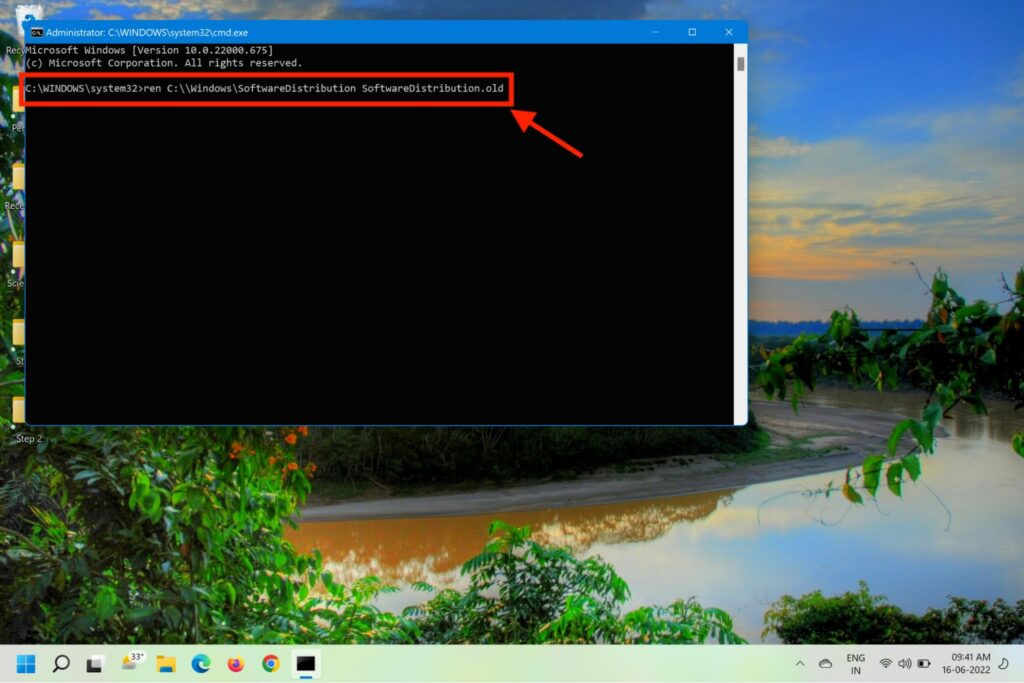
- Now, clear and rename the SoftwareDistribution and Catroot2 folders with commands ren C:\Windows\SoftwareDistribution SoftwareDistribution.old and ren C:\Windows\System32\catroot2 Catroot2.old.
- Now, Type commands – net start wuauserv, net start cryptSvc, and net start bits.
- Restart your computer and try to install the update.
5. Run SFC Scan
As mentioned before, there might be some corrupted dependency or damaged system file that must be stopping the auto-update feature. This can also be resolved by running the built-in System File Checker (SFC) tool integrated into Windows 11.
- Press the Windows logo + R keys on your keyboard to initiate the Run box.
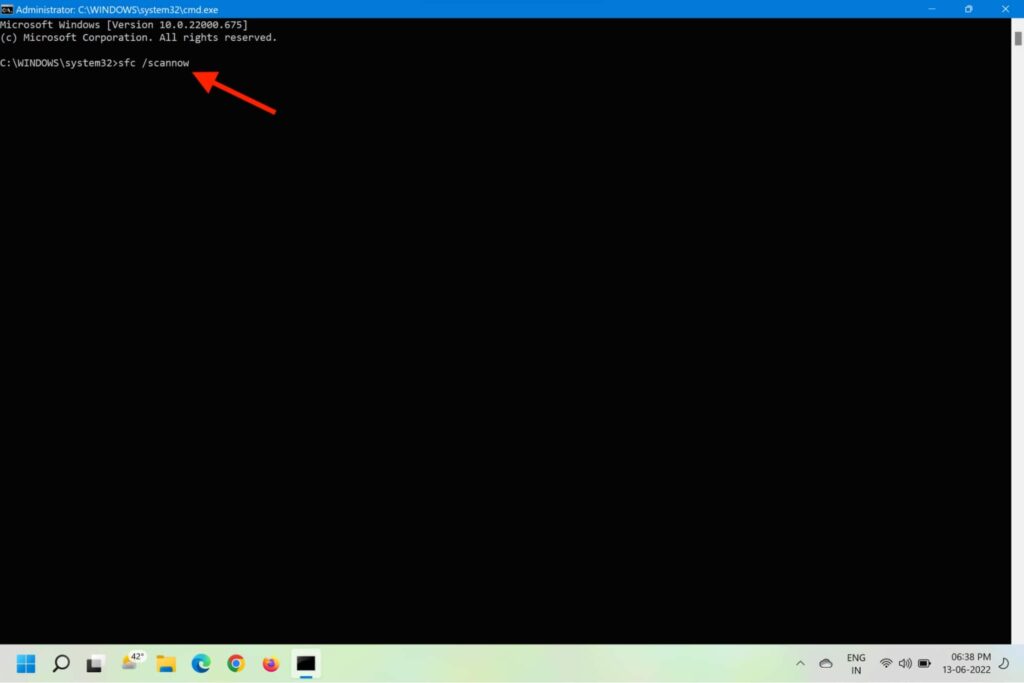
- Type cmd and then press Ctrl+Shift+ Enter to open the command prompt as administrator.
- Type sfc /scannow and press Enter.
- The command will then scan the system files and repair the corrupt ones.
- Wait for the display to show Verification 100% complete.
6. Manually Download and Install the Latest Update
If the Windows Update is not working properly and the above methods failed for you, you can try manually installing the failed update from Microsoft Update Catalog. Here’s how you can install a pending update from Microsoft Update Catalog.
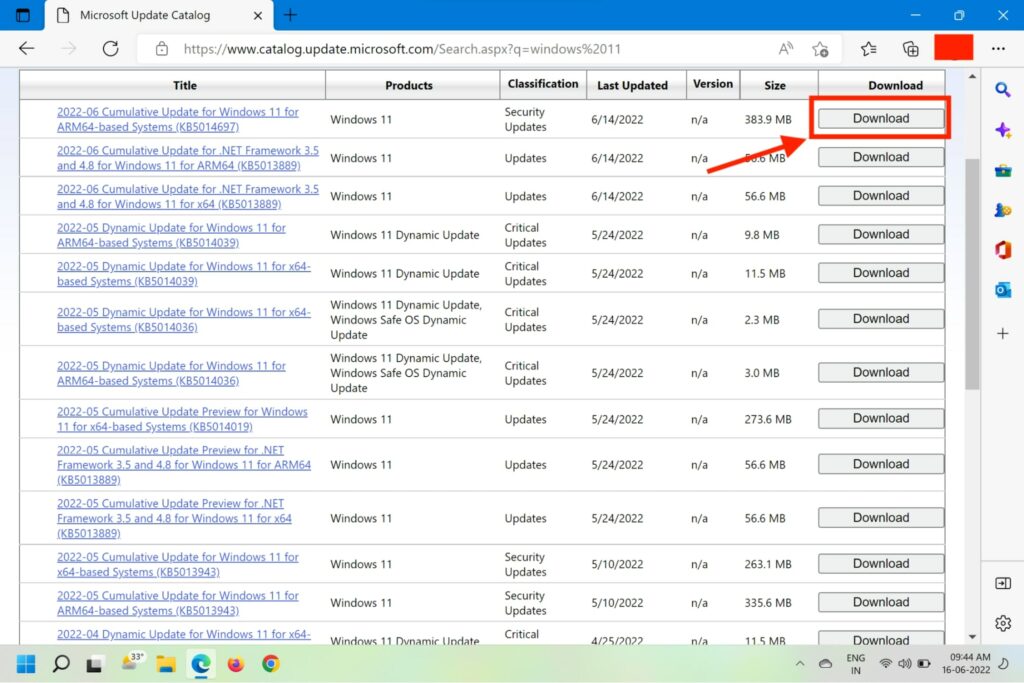
- Visit Microsoft Update Catalog (MUC).
- Type the Update number that’s failing for you in the search box.
- From the search results, pick the appropriate update version for your computer.
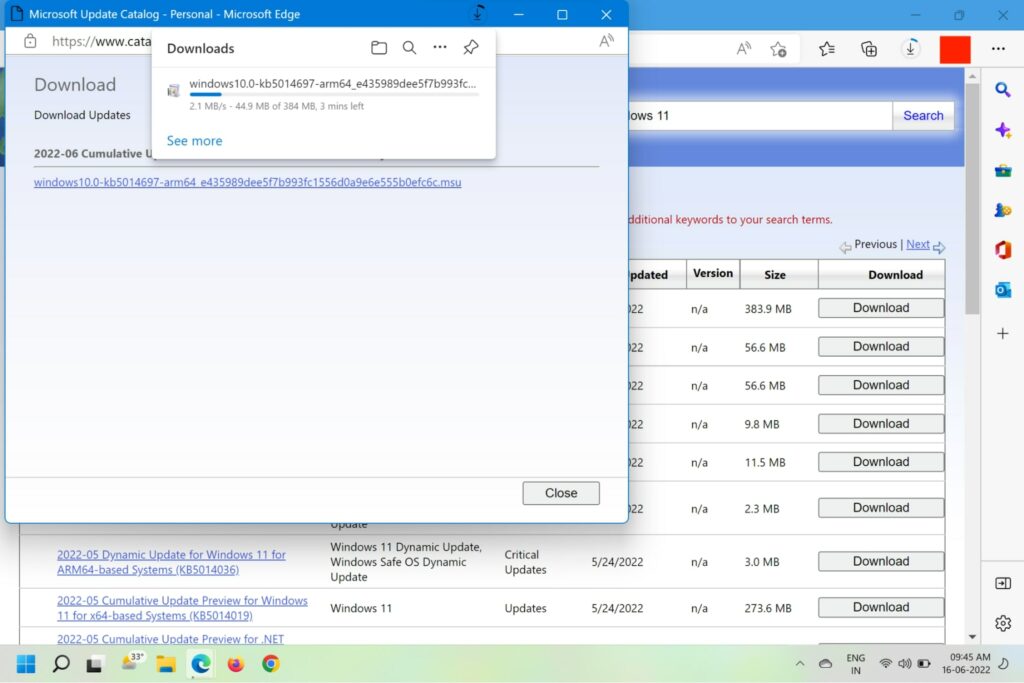
- Click on the Download button next to the update and wait for the download to finish.
- Once the download is finished, head to the Downloads folder and locate the update file and double-click on it
- Follow the on-screen instructions to install the update.
- Restart your computer and see if the error is fixed.
7. Employ the Media Creation Tool
You can use the Media Creation tool to upgrade Windows OS on your computer by looking for any missing updates and installing them. Here are the steps to use the Media Creation tool to update the Windows version to the latest.
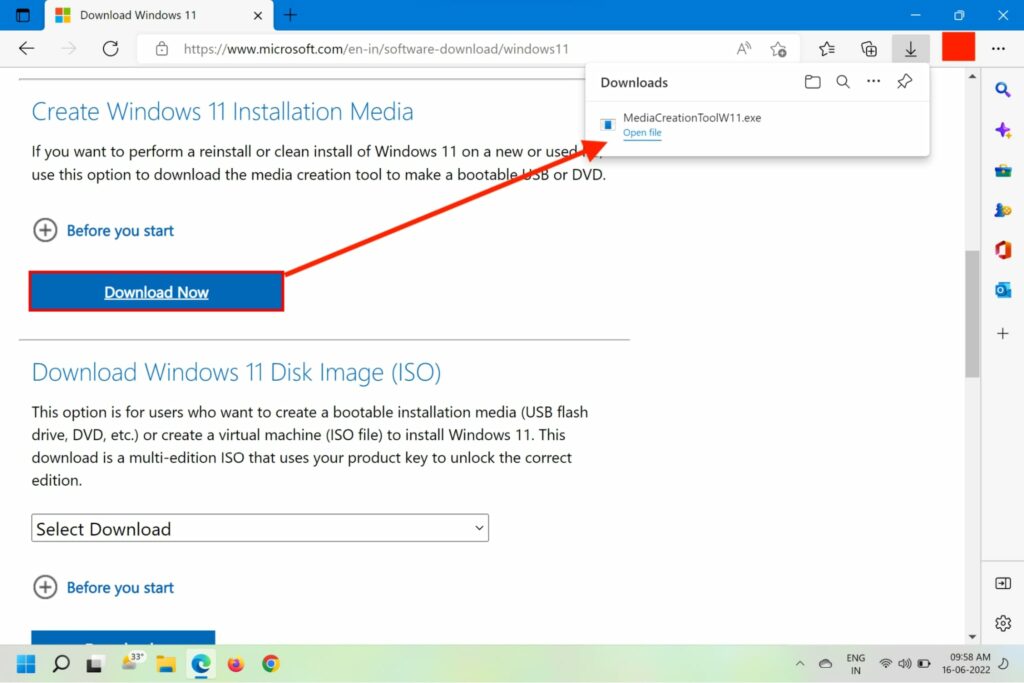
- Head to the official Windows download page.
- On the next page, click on Download Now under Create Windows 11 Installation Media.
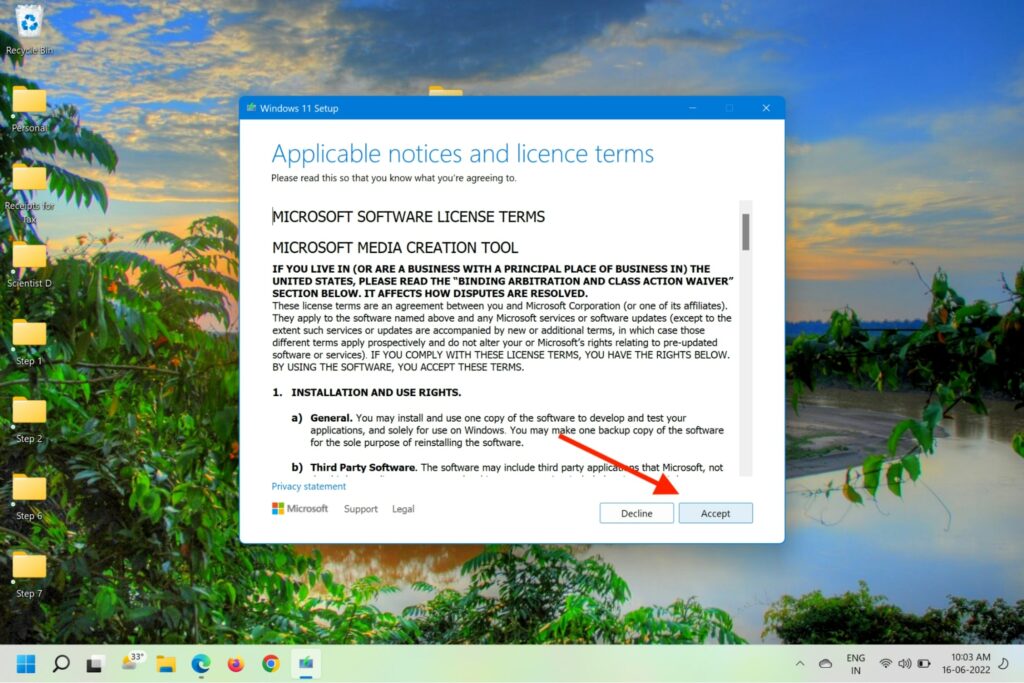
- Located the downloaded file and double-click on it.
- Click Yes, accept the Terms of Service, and select Upgrade this PC
- Click Next and wait for all downloads to finish.
- Choose Keep everything and follow the on-screen instructions to complete the update.
8. Use Windows Update Assistant
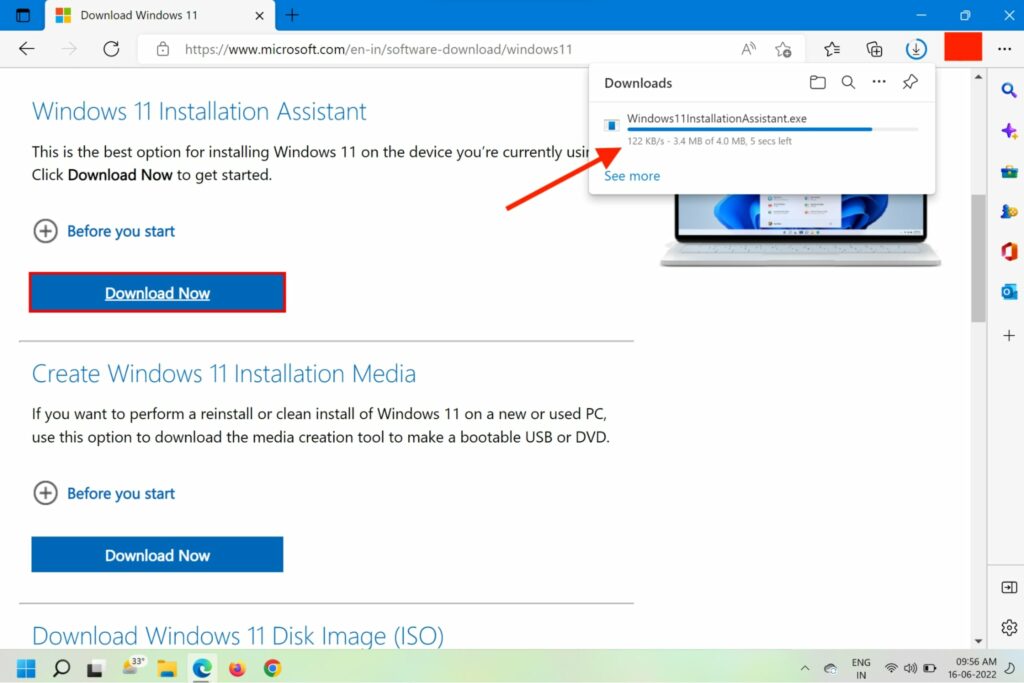
You can also download the Windows Update Assistant from the Windows download page to keep your Windows up to date. Here’s how you can update your Windows with the Update Assistant tool.
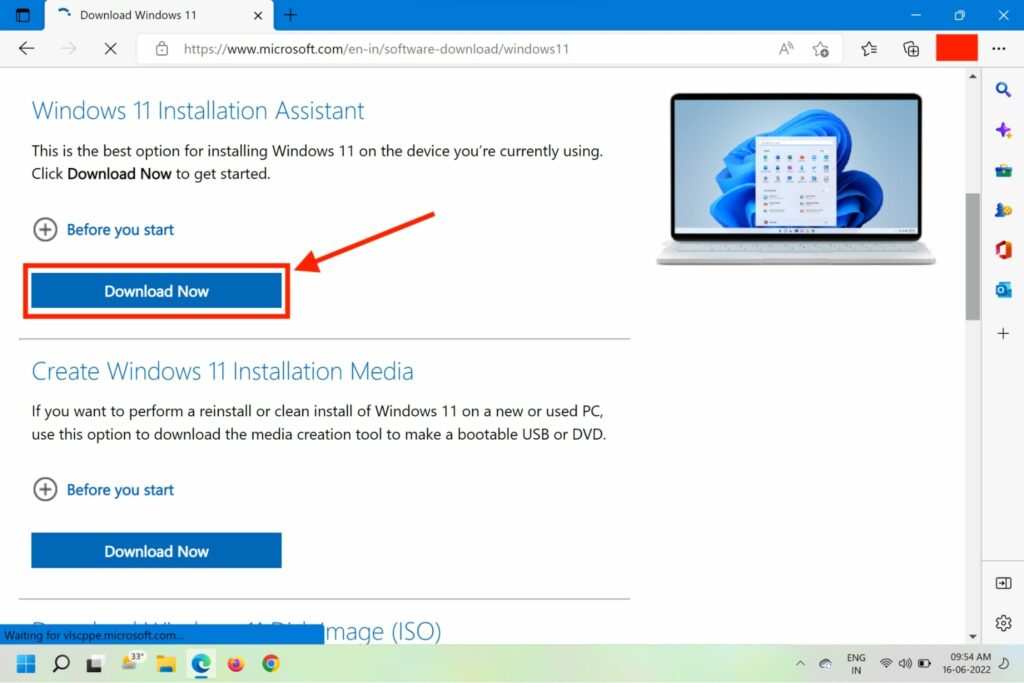
- Head to the official Windows download page.
- On the next page, click on Download Now under Windows 11 Installation Assistant.
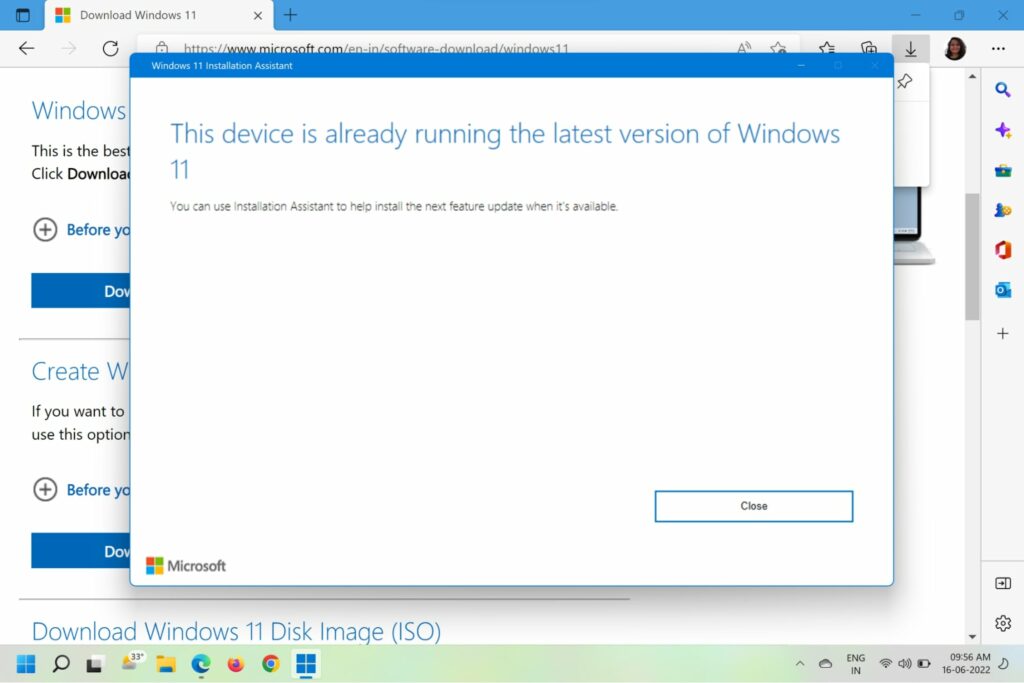
- Locate the downloaded file on your computer, right-click on it and select Run as Administrator and click Yes on the confirmation prompt.
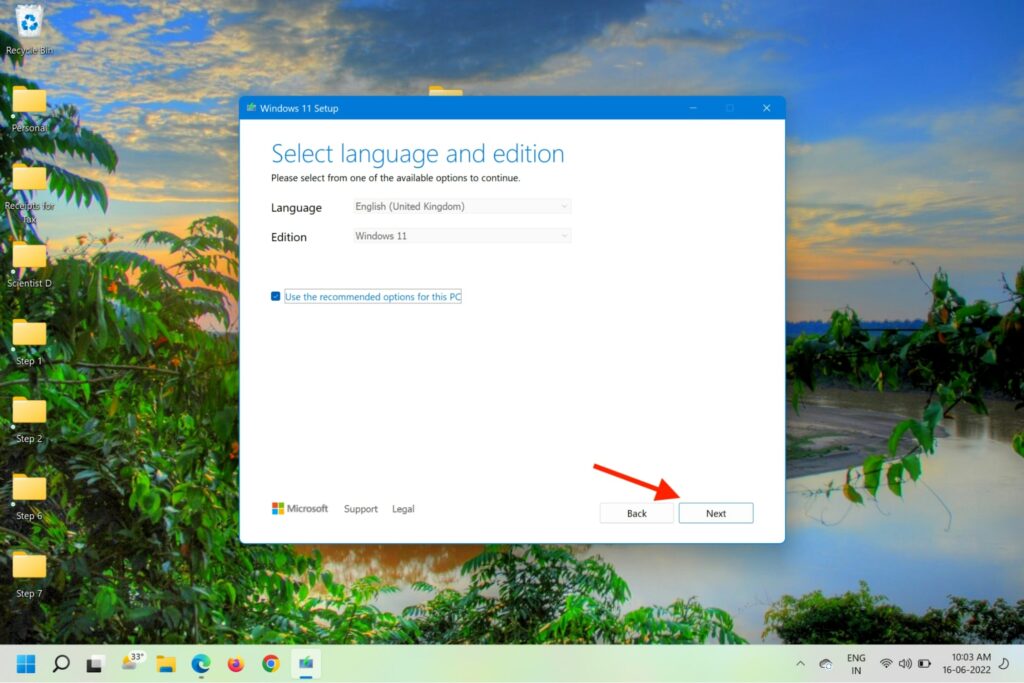
- In the Windows Update Assitant window that opens next, agree to the Terms of Service, Select Language and edition, Choose which media to use, and follow the on-screen instructions.
- You’ll be asked to restart your computer once the process finishes.
- You will see the Finishing Up window as the computer restarts, indicating a successful update.
9. Rollback to a System Restore Point
If all the above method fails and you are certain that a recent third-party application installation or changes you made is causing the issue, you can roll back to the previous system restore point to rectify the issue. Here’s how to do it.
- Press the Win + R keys on your keyboard to invoke Run Command.
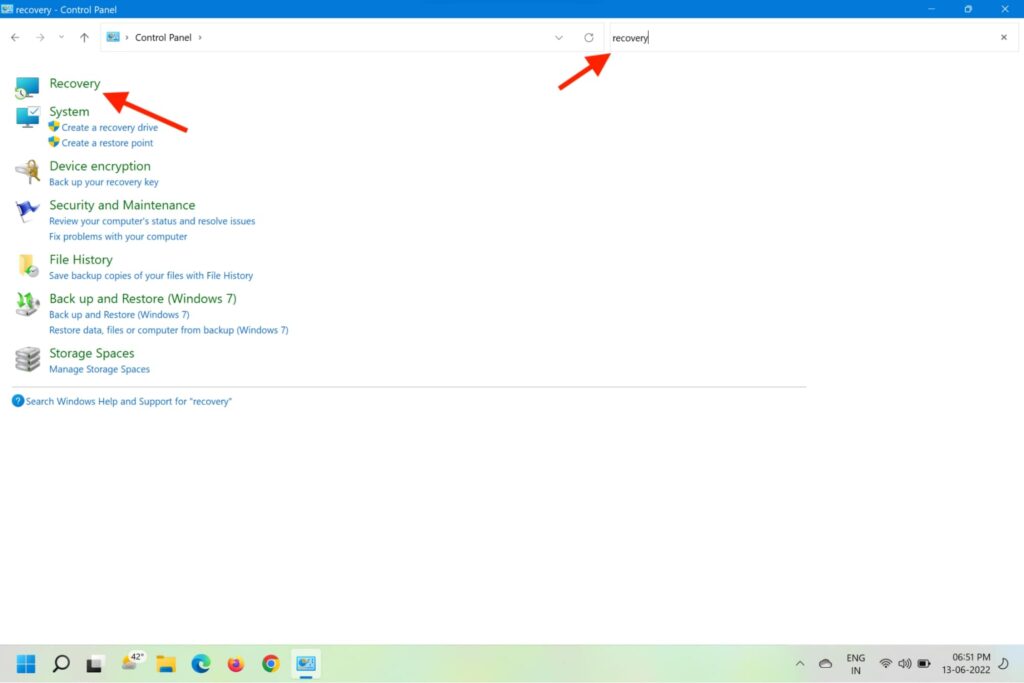
- Type Control and hit Enter to open Control Panel.
- Navigate to the Recovery option and click on it.
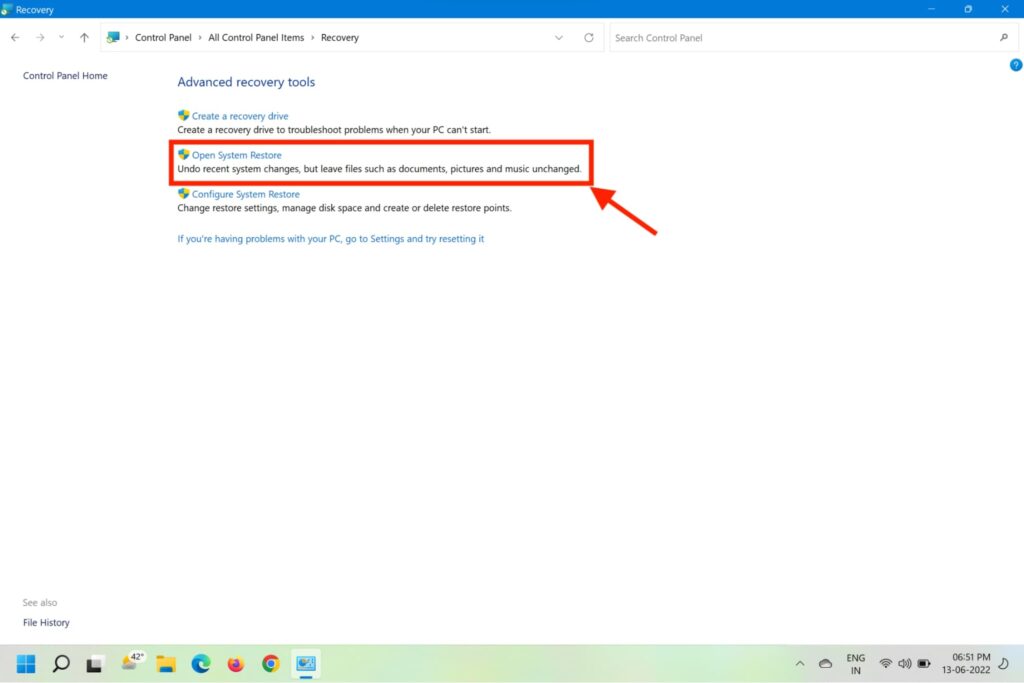
- Now click on the Open System Restore option.
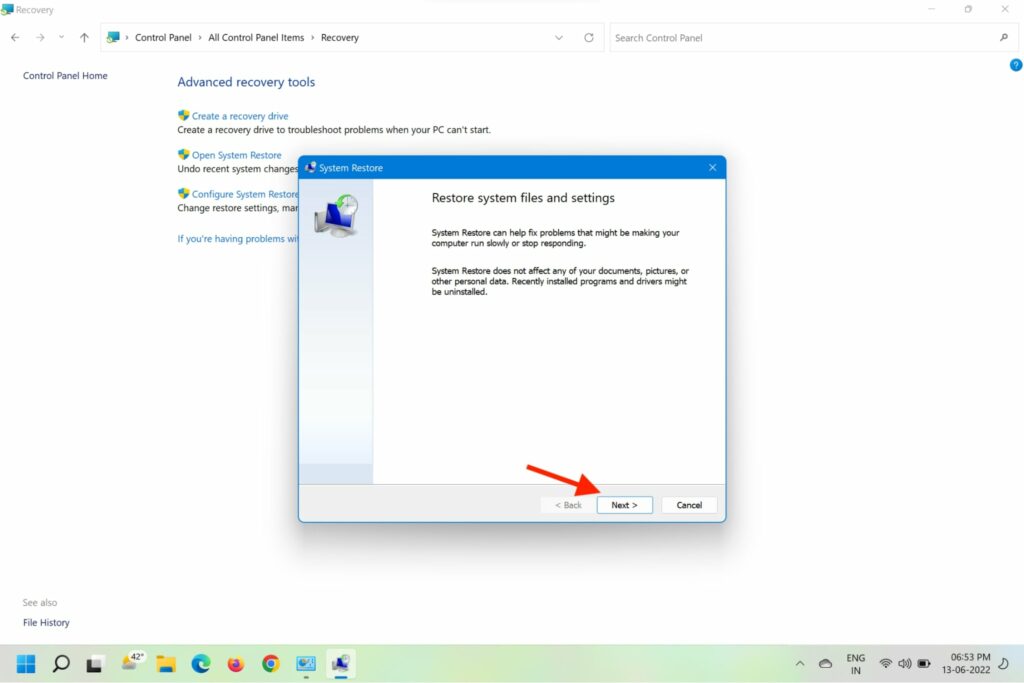
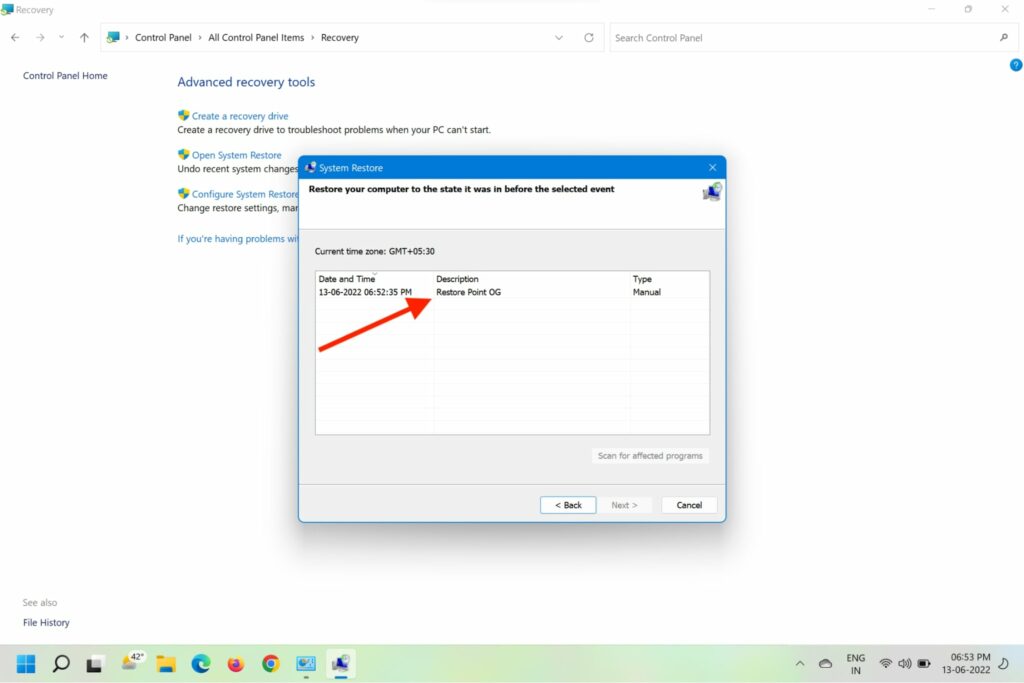
- On the newly opened System Restore window, click on the Next button at the bottom.
- Select the latest System Restore Point and click Next to proceed.
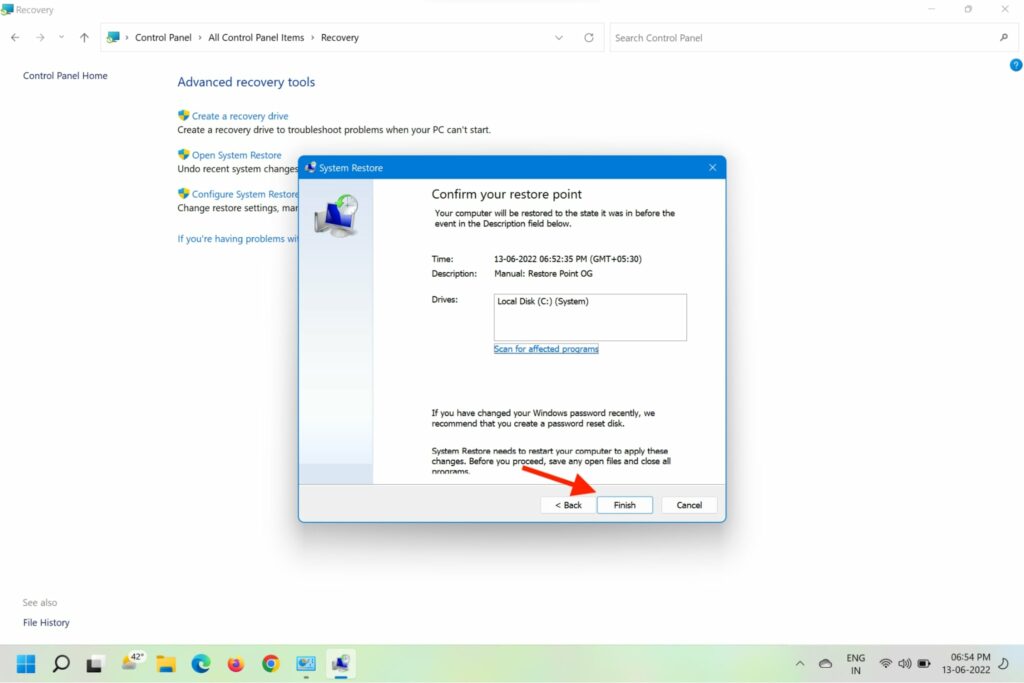
- You’ll now see the drives that will roll back from the chosen restore point.
- Click on the Finish button to start the System Restore process.
How do I fix error 0x80070003?
There are multiple ways to fix the Windows Update Error Code 0x80070003 in Windows 11. These include running the Windows Update troubleshooter, resetting the Windows Update service, deleting the DataShare folder, and more.
How do I fix errors when installing Windows 11?
Usually, Windows shows an error code when it runs into an issue, you can look up the specific error code to find a troubleshoot. For the Windows Update Error Code 0x80070003, you can follow the steps mentioned above.
What does 0x80070003 mean?
The error code 0x80070003 indicates that some of your Windows update files are missing or have become unusable. This prevents the computer from updating to the latest Windows version.
How do I force Windows 11 to update?
You can manually initiate a Windows update by navigating to Start > Settings > Update & Security > Windows Update > Check for updates. You can also use the Media Creation tool or Windows Update Assistant from the official Microsoft downloads page.
Final Words
The inability to update to the latest Windows can be quite frustrating for those who like to stay on top of the Windows update cycle. As such, the Windows Update Error Code 0x80070003 in Windows 11 could be a real pain for them. Thankfully, the troubleshooting methods in this article have been tried and tested to be working effectively. Lets us know in the comments if any of these worked for you and your experience.