The possibilities of your linked mouse cursor or pointer suddenly disappearing on your Windows PC are rather significant, albeit this is a fairly uncommon occurrence these days. However, it’s been rather frequent among PC users for years because, at some point, some of them have undoubtedly had such a problem. It’s not a significant problem, but it’s inconvenient nonetheless. If that’s the case, continue reading to find out how to fix mouse cursor disappears on Windows 11
Mouse Cursor Disappears on Windows 11
Even Microsoft’s most recent operating system is not without flaws. If your mouse cursor isn’t working, try restarting your computer. If a restart doesn’t work, try some of the suggestions below.
1. Is your mouse Is working properly?
A disappearing mouse pointer can be resolved quickly and easily. Try it this way before proceeding on to more complicated explanations:
Check the mouse cable connectionPress F1 to F12 function keysUse another USB portCheck mouse batteriesUse the mouse on a different computer
2. Update Your Mouse Drivers
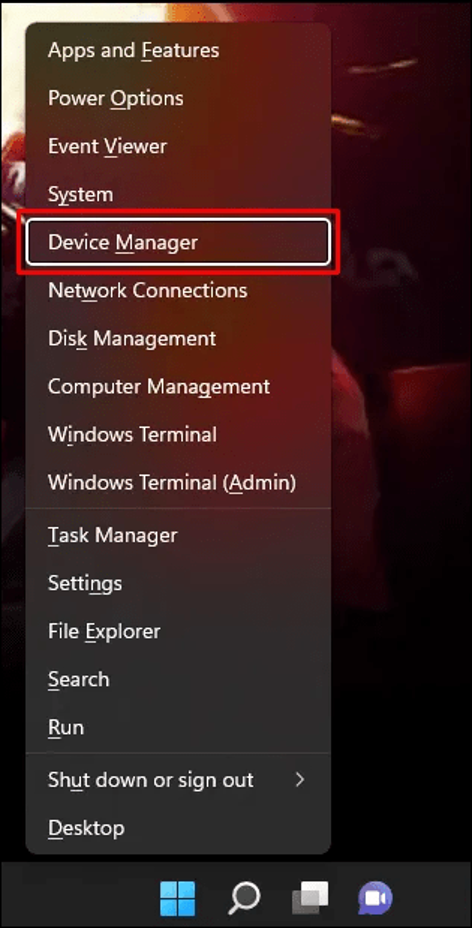
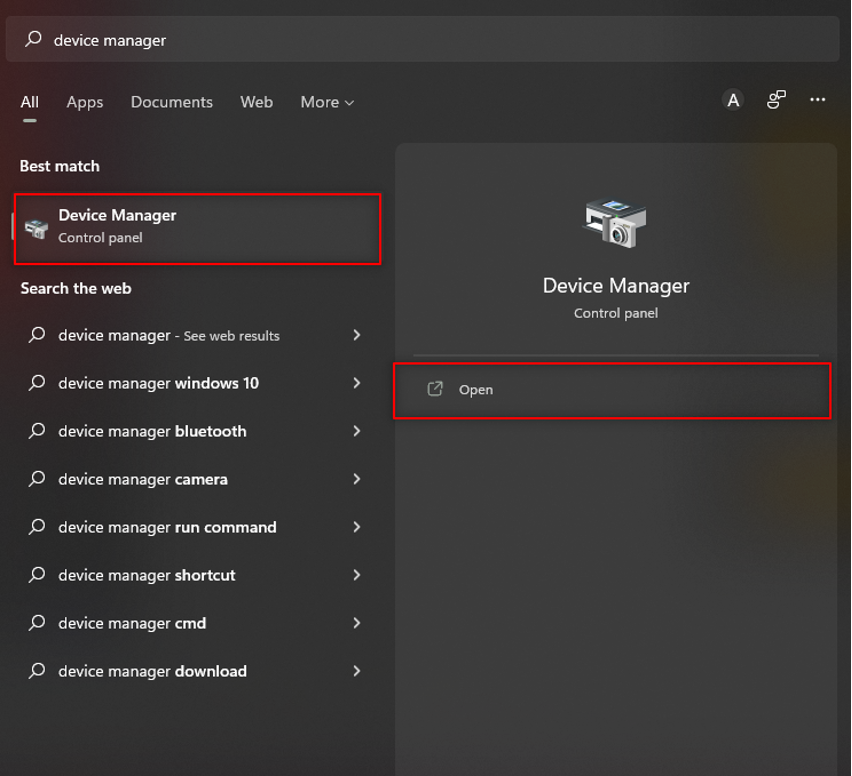
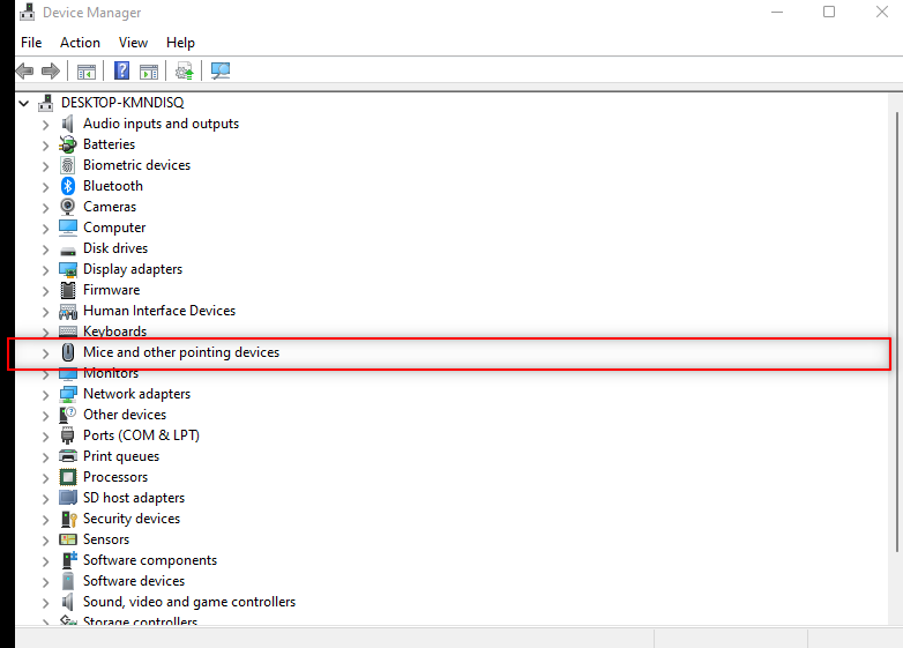
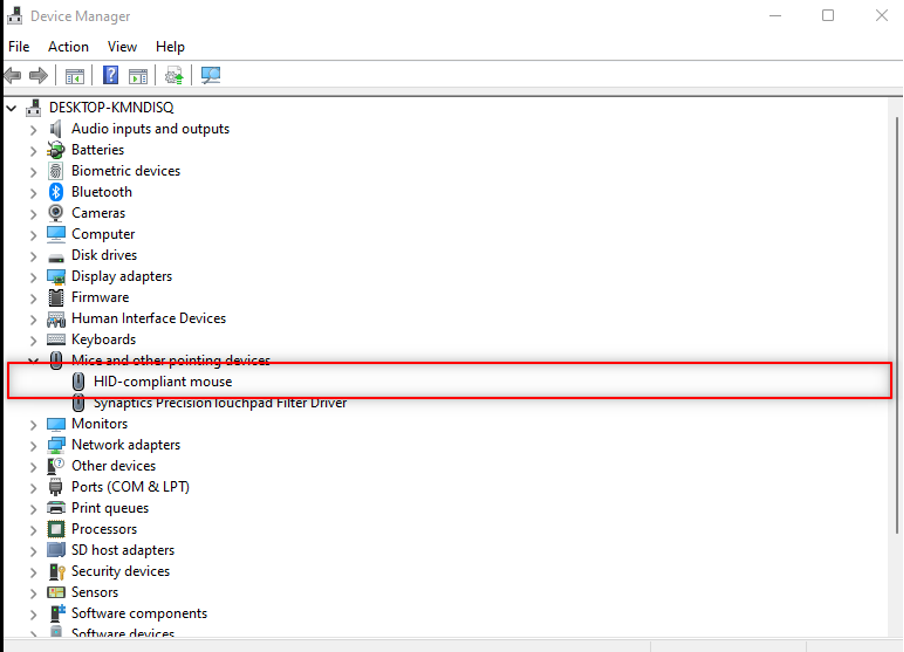
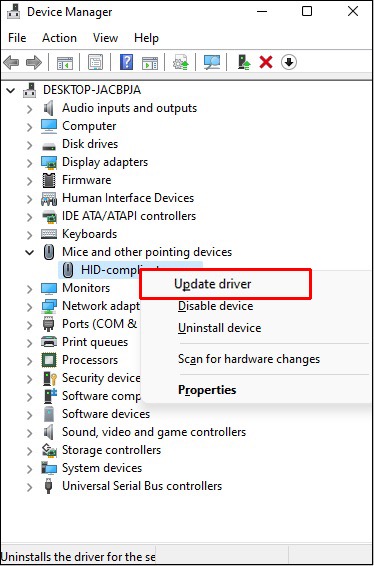
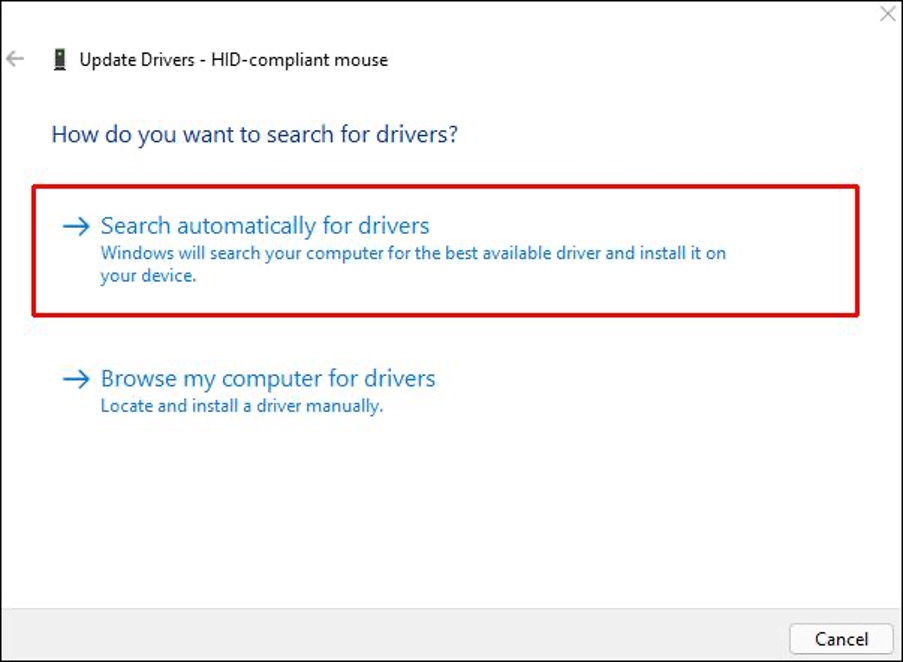
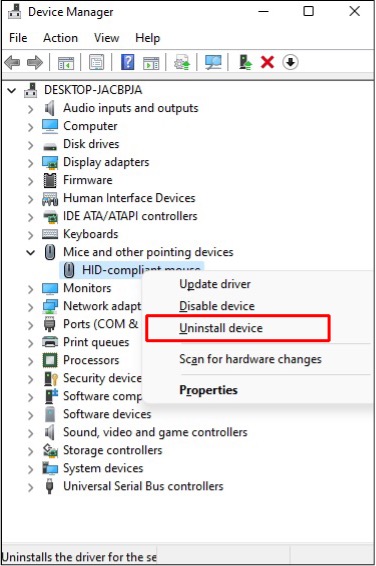
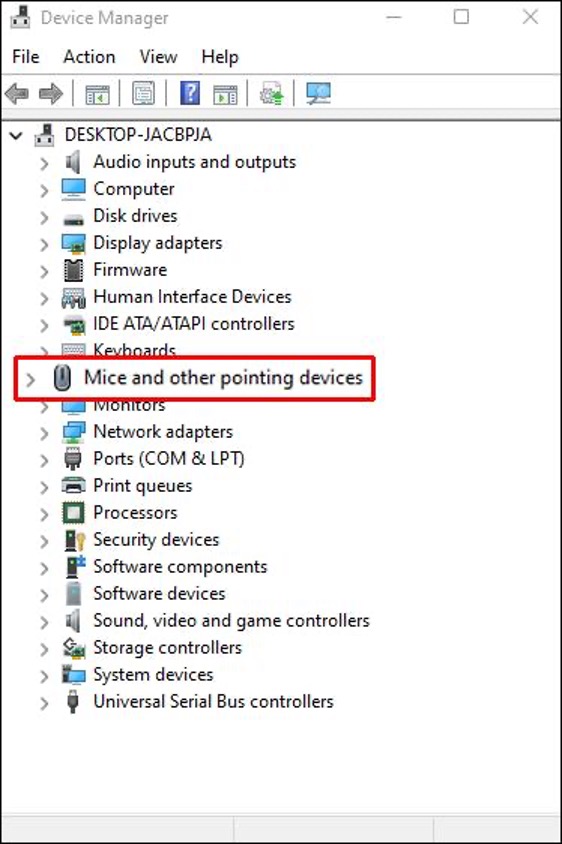
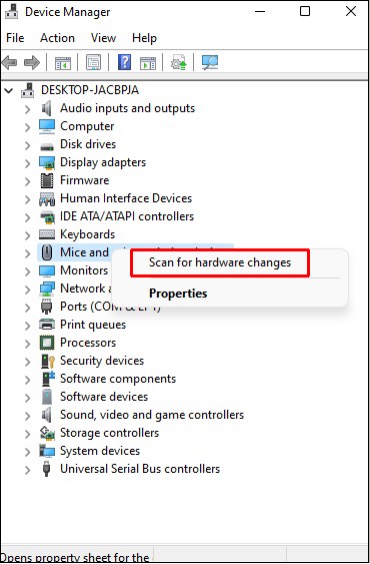
Mouse-related problems can be easily caused by outdated or corrupt drivers. To update or reinstall your mouse drivers, follow these steps: Step 1: Use the shortcut Win + X. Step 2: Then, using the down arrow key, navigate to Device Manager and hit Enter. Alternatively, you can also go to Start and type Device manager in the Search box as shown below: Step 3: Next, use the down arrow key to navigate to the Mice and other pointing devices option after focusing on the window with the Tab key. Step 4: Then, use the right arrow key to expand the choice. Step 5: Then, choose your mouse. Step 6: Next, press Shift + F10 to right-click on the driver and open the drop-down menu. Step 7: Using the down arrow key, navigate to Update driver and press Enter. Step 8: Then, using the arrow keys, select Search automatically for updated driver software. Step 9: Finally, complete the process, follow the on-screen directions. If the problem persists, try removing and reinstalling your drivers: Step 1: Repeat the steps 1 to 4 mentioned above. Step 2: Then, select Uninstall device by pressing Shift + F10. Step 3: Next, press Shift + F10 under the Mice and other pointing devices option. Step 4: Finally, go to Scan for hardware changes and press Enter.
3. Check Touchpad Settings
Users can easily turn on/off the touchpad feature on the integrated keyboard on most recent generation Windows laptops. You’ll need to enable the touchpad feature on the laptop in this situation. To do so, follow these steps: Step 1: To launch Windows Settings, press the Win+I buttons on your keyboard. Step 2: Now, from the left pane, choose Bluetooth & devices > Touchpad. Step 3: Make sure the Touchpad option is turned On. Step 4: If it’s already on, turn it off and then back on again.
4. Check Tablet Mode
If you’re using a hybrid Windows device with a detachable keyboard, such as modern laptops, this implies that when you remove the keyboard, the device automatically converts to tablet mode. Because the device has touchscreen functionality, the mouse cursor or pointer is disabled or switched off in that case. As a result, even after attaching the keyboard to the tablet, the Tablet Mode is likely to remain active. Since there is no method to disable Tablet Mode on your Windows 11 system directly, you’ll have to restart the device for the system to calibrate the keyboard input choice to the device. To do so, follow these steps: Step 1: Simply attach the keyboard to your Windows 11 device (if not connected already). Step 2: To open the Shut Down Wizard on your screen, press the Alt+F4 keys on your keyboard simultaneously. Step 3: Then, in the drop-down menu, use the Down Arrow key to reach the Restart option. Step 4: After that, press the Tab key to move the cursor to the OK button. Step 5: Finally, restart the computer by pressing the Enter key on your keyboard. Voila! It’s done!
5. Turn Off Hide Pointer While Typing
If none of the other techniques worked, make sure to try this one, which will eliminate the option to hide the mouse pointer when typing, allowing you to see the mouse cursor even while typing. To do so, follow these steps: Step 1: To get started, launch Windows Settings by pressing Win+I keys on your keyboard. Step 2: Then, select Mouse > Additional Mouse Settings from the drop-down menu. Step 3: Then, go to the Pointer Options tab and make sure that Hide pointer while typing is unchecked (turned off). Step 4: In order to save your changes, click Apply and then OK. Step 5: Finally, reboot the computer to see whether the mouse pointer or cursor disappearing issue in Windows 11 is still present.
6. Try These Function Keys
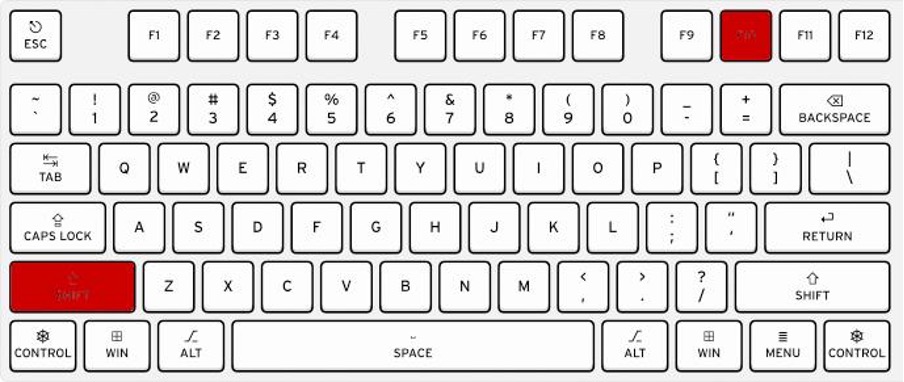
Certain keyboard shortcuts, particularly on laptops, can be used to disable your mouse in some cases. There can be fair posibility that you could have disabled it. In this case, you can fix it by pressing the one of the following combinations of function keys on your keyboard to see whether your mouse pointer appears again:
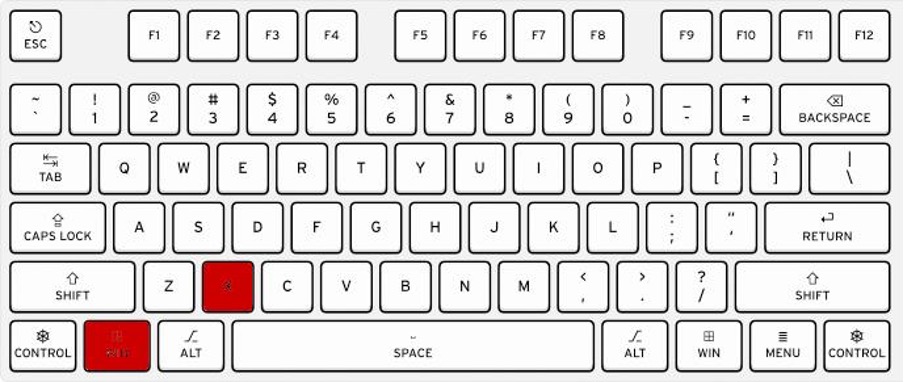
Fn + F3Fn + F9Fn + F11
That’s all there is to it. We hope you found this guide useful!