If you’ve recently upgraded from Windows 11, then you might have noticed that Hibernate option doesn’t appear in the start menu, ALT + F dialog, and in WIN + X menu. Although hibernate feature is available in Windows 11 out of the box, the option is still missing in the above-discussed areas. Those users who have a habit of putting their device into hibernate mode in Windows 11, might be looking for a way on how to add hibernate option, right? The blog post is dedicated to you.
What is hibernate mode in Windows 11 and how it works?
Before you start learning steps on how to do that. You might want to know about what is hibernate mode and what it does. Hibernate is one of the quickest ways to turn OFF your computer and turn it ON next time you want to use it. What actually happens, when you put your device into hibernate mode, everything in your device memory is saved into your hard drive in a file called hiberfil.sys file and turn off the device. It means all your apps, files, and folder are not closed by being saved in the same file. When you turn on your device it will use the same file to restore all data. According to various users hibernate mode quickly turn on your device as compare to restart as a result majority of the users use it.
How To Enable Hibernate In Windows 11 Start Menu
Now that, you know everything about hibernation mode, let’s learn how to add hibernate option in Windows 11 Start menu, and other areas.
Use Control Panel
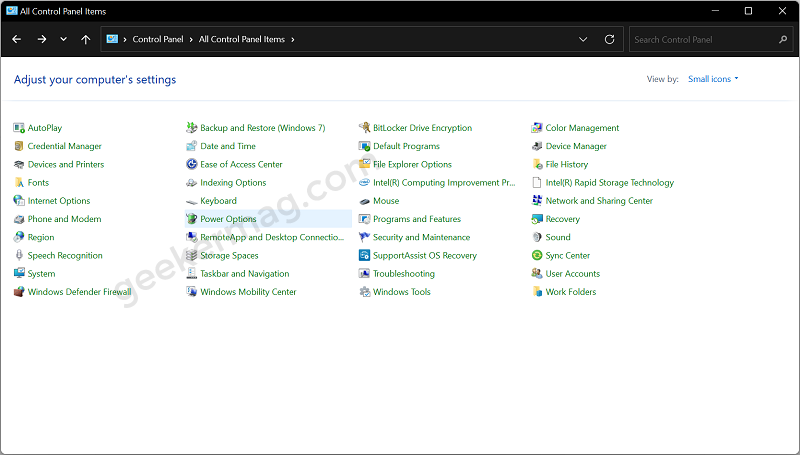
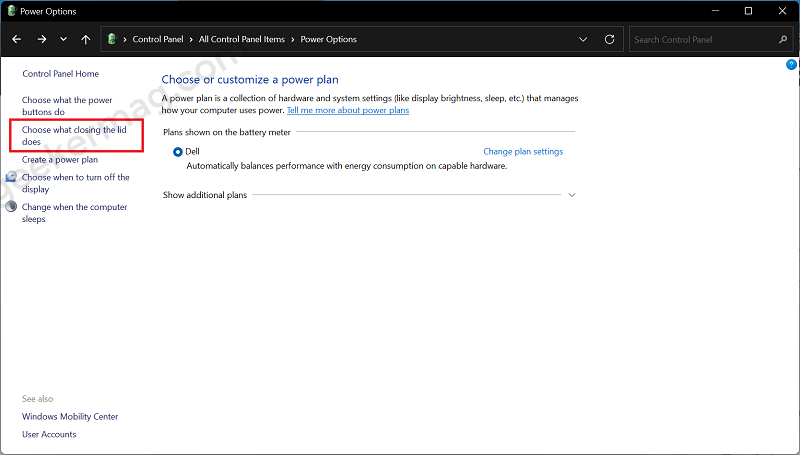
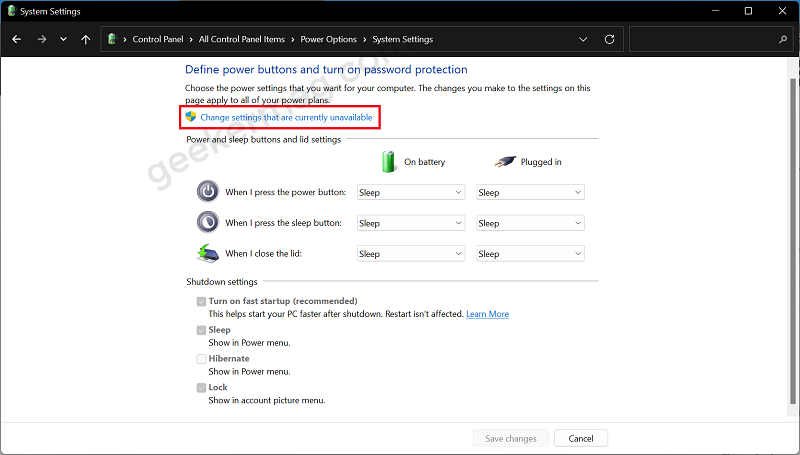
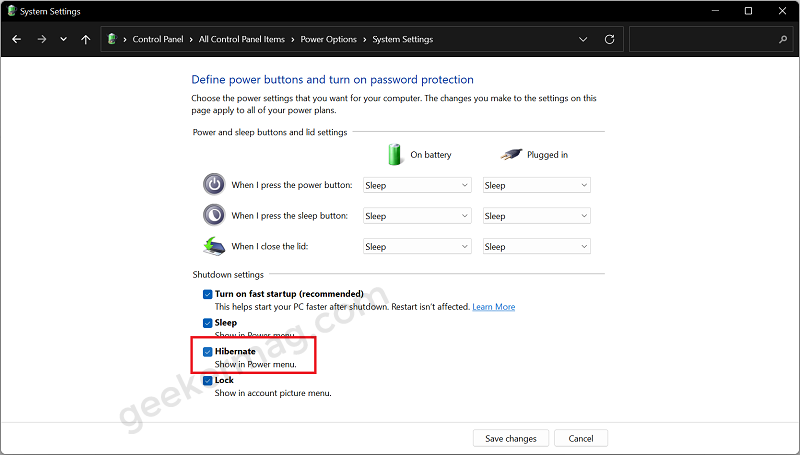
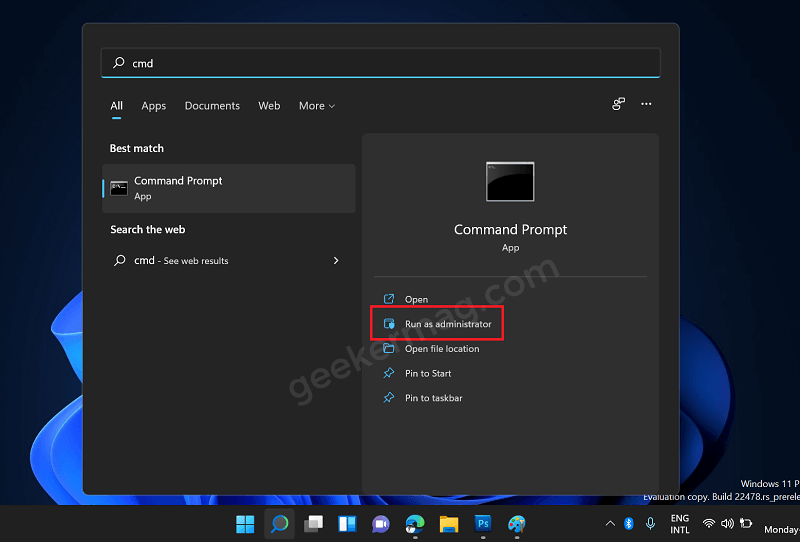
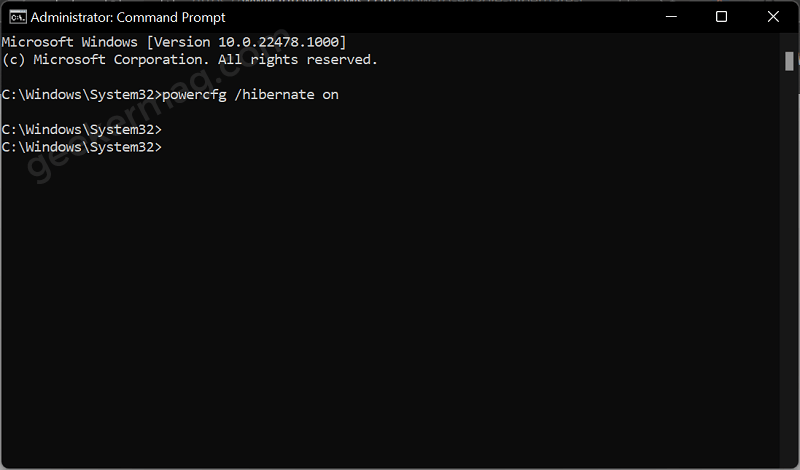
In the Taskbar, click on the Search icon, type ‘Control Panel‘, and when it appears in search results, click to open it. Here, using the View by drop-down, select Small icons and then click Power Options. Click on “Choose what closing lid does” from the option available on the left side. On the next settings page, click on the link that reads “Change settings that are currently unavailable“. After that head over to Shutdown settings and check the box for Hibernate option. At last click on the Save changes button. In case, Hibernate option is not unavailable in the Shutdown settings, then it is possible the same option is disabled and you have to enable it manually. Here’s how you can do that: For that, launch Elevated Command Prompt in Windows 11. Click on the Search icon on the taskbar and type, CMD or Command Prompt. When it appears in results, click on the Run as administrator option in the menu. In Command Terminal, you need to copy-paste this command: powercfg /hibernate on and hit enter. And you’re done! Check out the youtube video on how to do that:
How to Hibernate your PC in Windows 11
So now that, you have enabled the Hibernate option in Windows 11. Here’s how you can put your device in Hibernate mode:
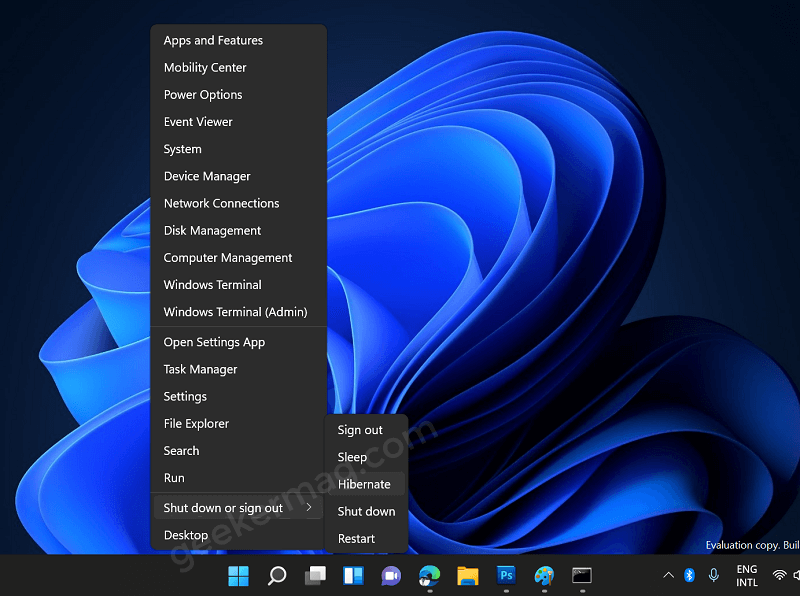
Hibenate using WINX Menu
Right-click on the Start button and select Shut down or Sign out > Hibernate.
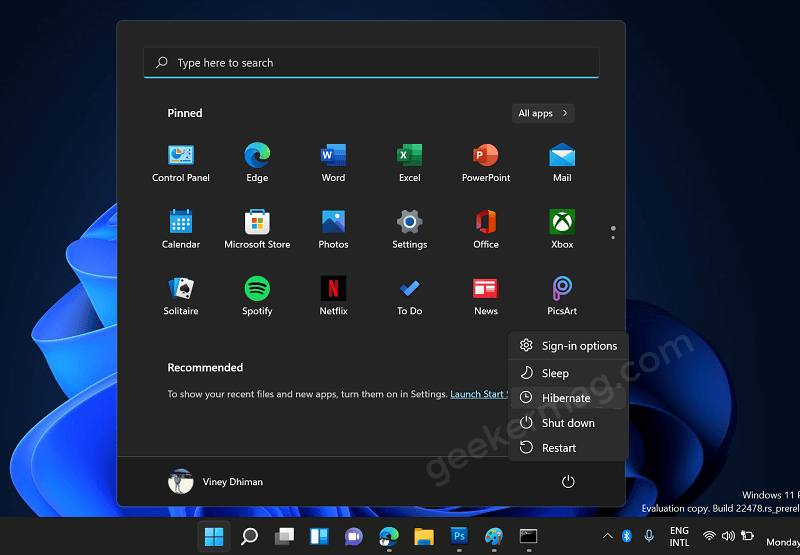
Hibernate using Power Menu
Alternatively, click on the Start button, then click on the Power button. From the Power menu, select Hibernate.
![]()