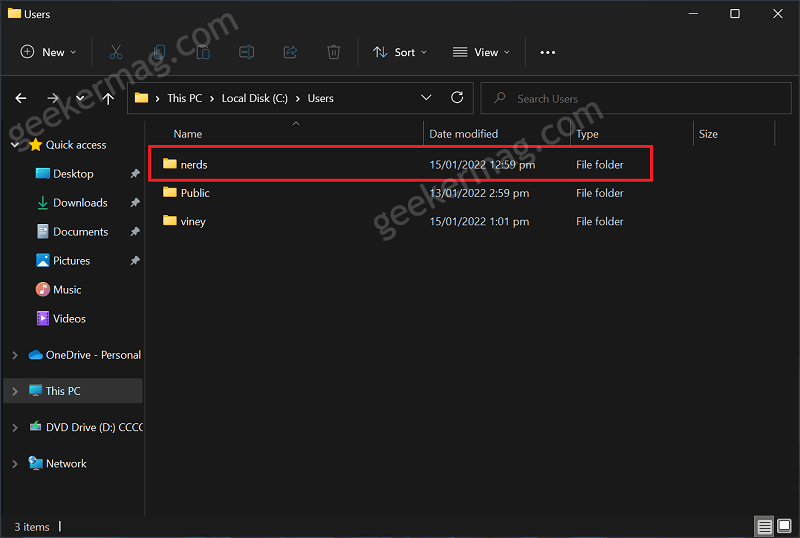
A User Profile is a set of settings required for the proper functioning of Windows OS in PC and make the look of PC as expected by the user. You can find it at: C:\Users<new username> profile folder and it contain various personalization settings. The purpose of user profile is to make sure that users personal preferences are used whenever login to PC. Apart from that, User Profile Folder also have folder dedicated to that profile like Contact, Documents, Desktop, Favorites, Downloads, Music, Links, OneDrive, Saved Games, Pictures, Videos, and Searches. Usually a user profile folder is created automatically by Windows when you login to Windows 11 PC for the first time, it is possible that name is not set to folder is not per your expectation. For example, if you add Microsoft account to Windows 11 PC, the name of user profile folder here “C:\Users” will be the first 5 characters of the email address, and not the name associated to that email.
How to Change Name Of User Profile Folder in Windows 11 PC
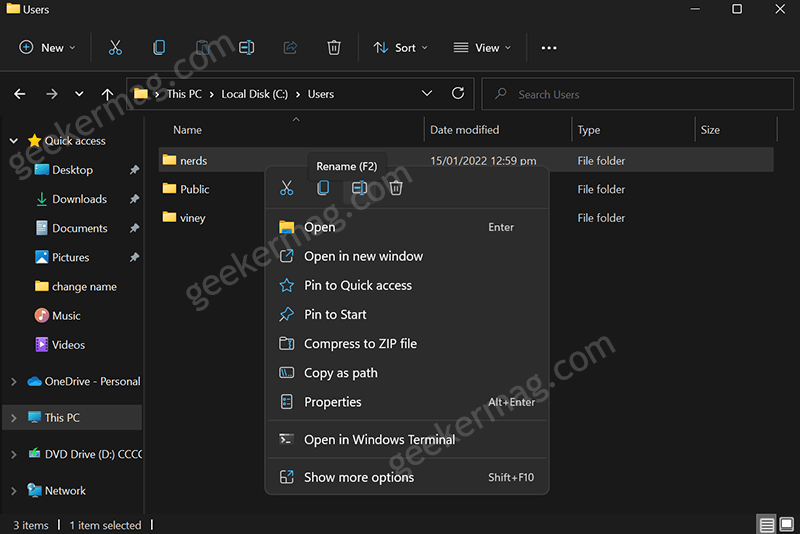
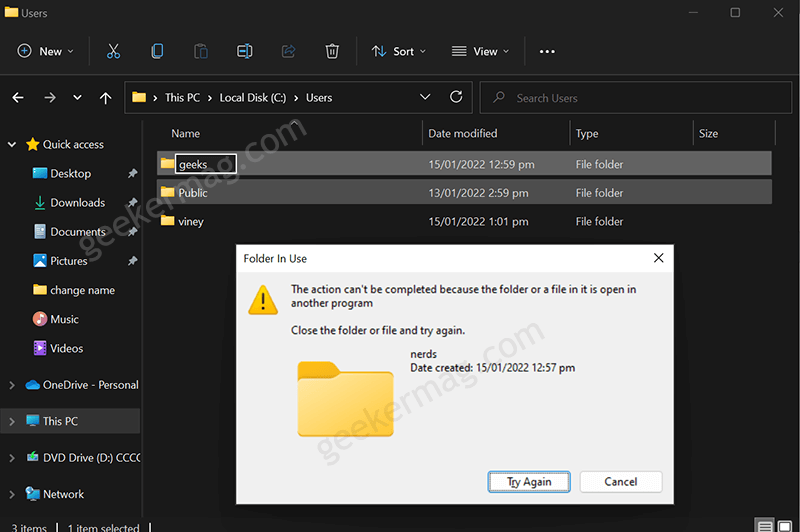
Due to this reason, many users want to rename user profile name folder with one they prefer in Windows 11. In case, you want to change name of user profile folder in Windows 11, then here’s how yo can do that:
Important step – First of all, you need to sign out of the user account whose User profile folder name you want to change in Windows 11.
Important Step – Next, you need to login to another administrator account added to Windows 11 PC. Make sure, its not the one whose user profile folder name you’re going to rename.
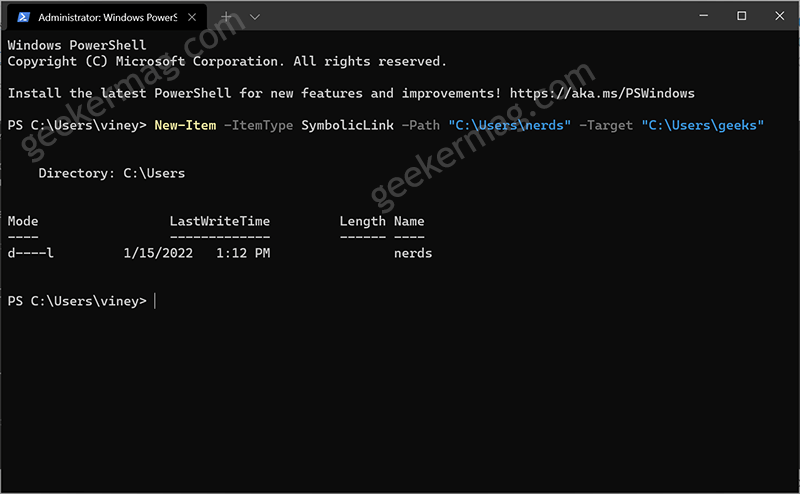
Launch Windows Terminal app in Windows 11 and select Windows PowerShell as default Shell Profile.
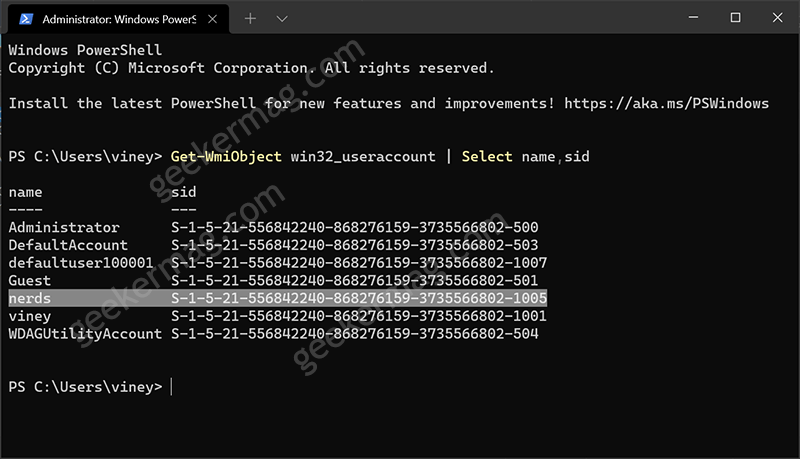
Here, you need to execute this command: Get-WmiObject win32_useraccount | Select name,sid, you will get list of user account name accompanied by SID.
You need to note SID for the user account for which you want to rename user profile folder. For example, I want to change name of ‘Nerds‘ users name, so its SID is S-1-5-21-556842240-868276159-3735566802-1005.
After that, launch Registry Editor. To do so, press the Windows + R key combo, and then in the Run dialog box type regedit.exe and hit Enter. This will open the Registry Editor on your Windows 11 PC.
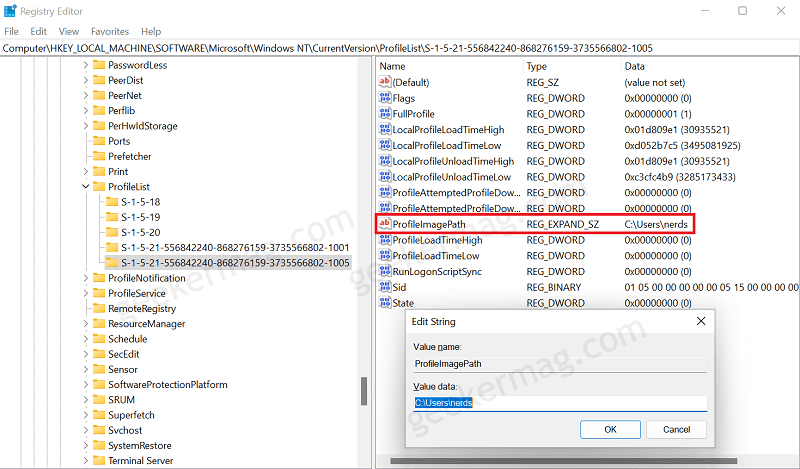
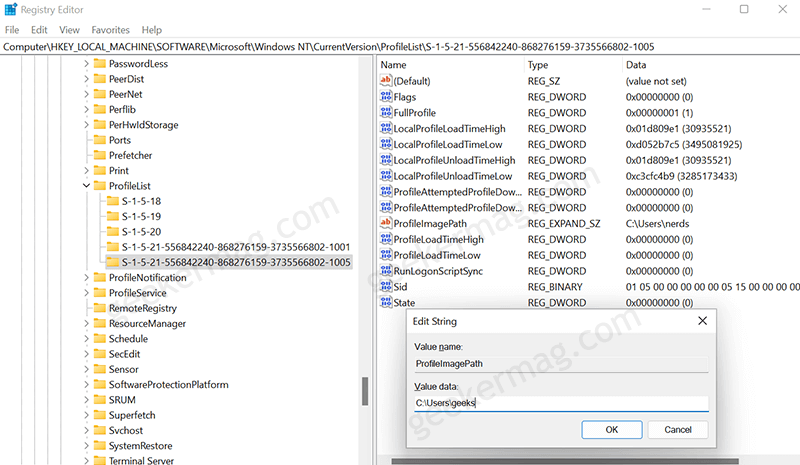
In the Registry Editor, head over to the following key address: HKEY_LOCAL_MACHINE\SOFTWARE\Microsoft\Windows NT\CurrentVersion\ProfileList<SID>.
Here, replace