Change Account Name in Windows 10 or Windows 11
There are mainly three ways one can change account names in Windows 10 or Windows 11. I have gone ahead and provided the exact steps needed in all those three ways. You can try any of the following ways, and you will be able to set a new name as the account name of your PC.
From Advanced Control Panel
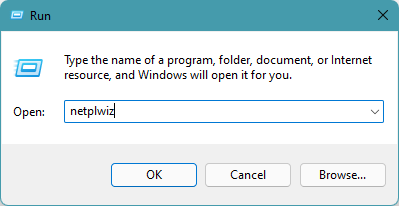
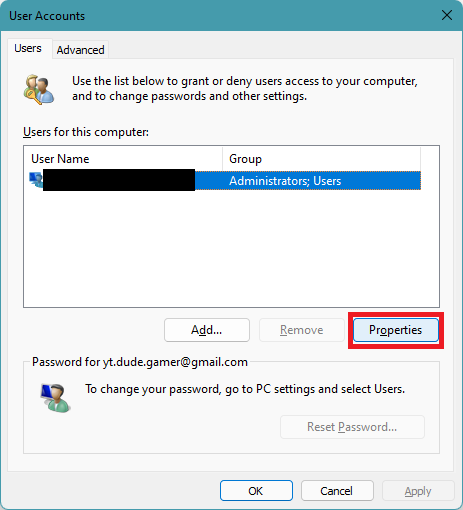
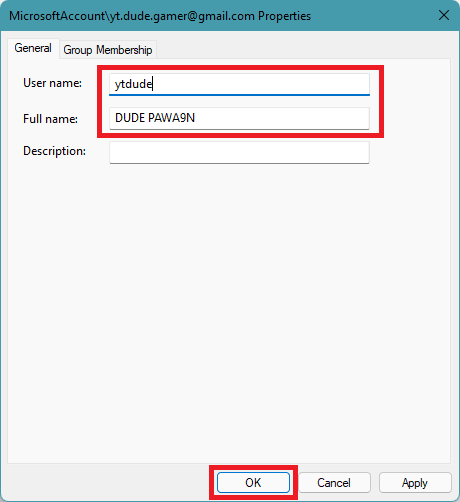
Step 1: Open the Run dialog box by pressing the Windows Key + R on your PC. Type in ‘netplwiz’ or ‘control userpasswords2’ in the run box and hit enter. Step 2: It will take you directly to the User Accounts Menu. Step 3: You will find all the accounts registered on your PC under the User Accounts menu. Select the account of which you want to change the account name and tap on Properties. Step 4: A pop window will open with two tabs. The first tab will be General. You can change the user name and the Account name from the General Tab. Enter the name user name and account name and tap on OK. Once done account name will change on your PC. You might need to restart the system for the change to get reverted everywhere.
Using Control Panel
Long-time Windows users must know what Control Panel is capable of doing. One can use Control Panel to do pretty much anything on a Windows PC, from changing the overall look of the entire system to tinkering with Windows settings. The Control Panel allows users to change the Account Name. Follow the below steps to change Account Name in Windows 10 or Windows 11 using Control Panel.
On Windows 10
Step 1: Open the Search Bar from the Start Menu on your Windows 10 PC. Step 2: In the search bar, type ‘control panel‘. Select Control Panel from the search results. Step 3: Under Control Panel, open the User Accounts panel and go to the User Accounts option. Step 4: Go to the Manage another account option. Step 5: Now, you will see all the available accounts on your PC along with details like Account Name and email. Select the user account of which you want to change the Account Name. Step 6: Tap on Change account name and enter the name you want to use as your new Account Name. Lastly, tap on Change name, and it will change the account name of your PC. By following the above steps, you can change your account name on Windows 10 PC. You might see the old account name at a few places to fix this. Sign out of your user account and sign in back again. You can also Restart your PC to make the change into effect.
On Windows 11
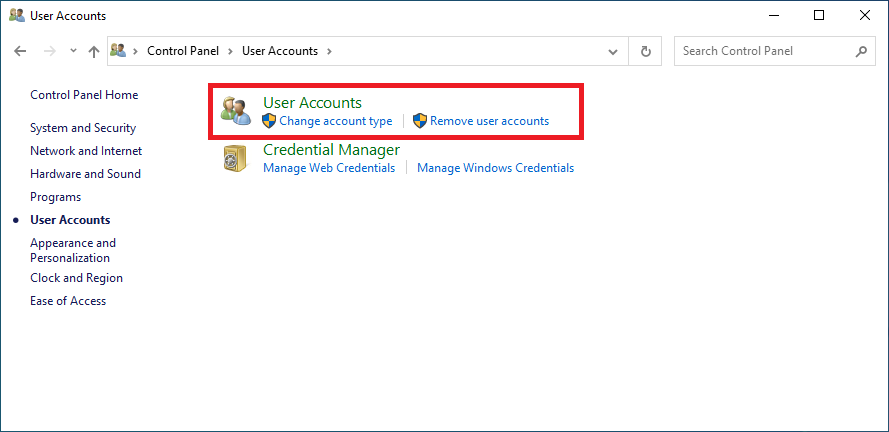
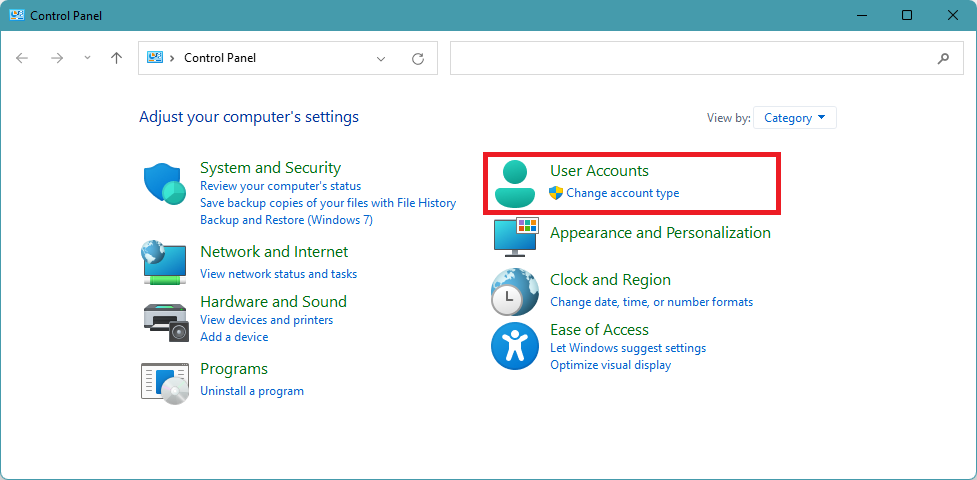
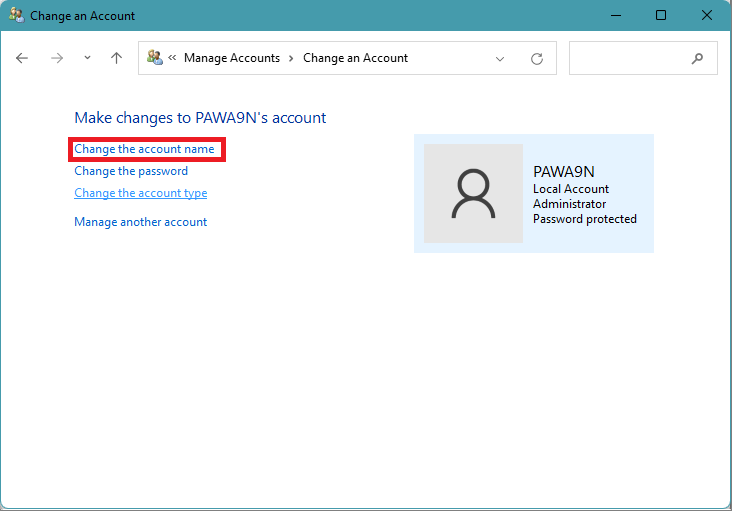
The above steps work well on a Windows 10 PC. If you have recently updated to Windows 11, then no need to worry about it as the steps are more or less similar. You will be able to change the account name on your Windows 11 running PC by following the below steps. Step 1: Open the Control Panel on your Windows 11 PC. Step 2: Under Control Panel, you will see User Accounts. Below the User Accounts, there will be a Change account type Option, click on it. Step 3: On the next screen system will show all the user accounts available on your PC. Tap on the user account of which you want to change the account name. Step 4: Now, you will see different options Change the account name, change the password, change the account name. As you want to change the name of your account, select the ‘Change the account name‘ option. Step 5: On the next screen, enter the new account name and tap on change name. Step 6: Even after changing the account name, you might see the old name in a few places. To fix this, sign out with your account and sign in again.
Change from Settings
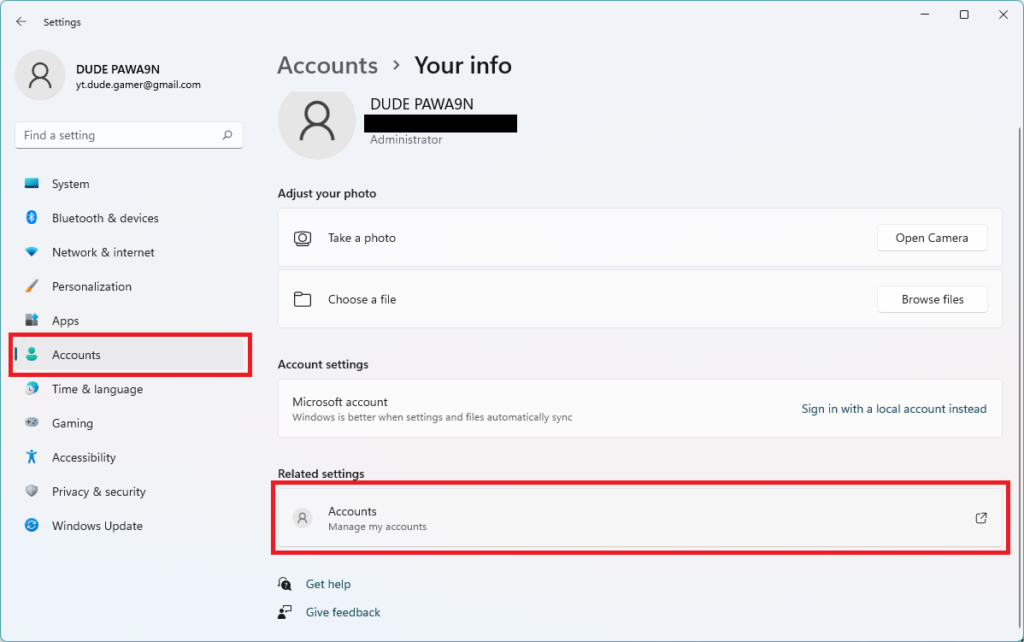
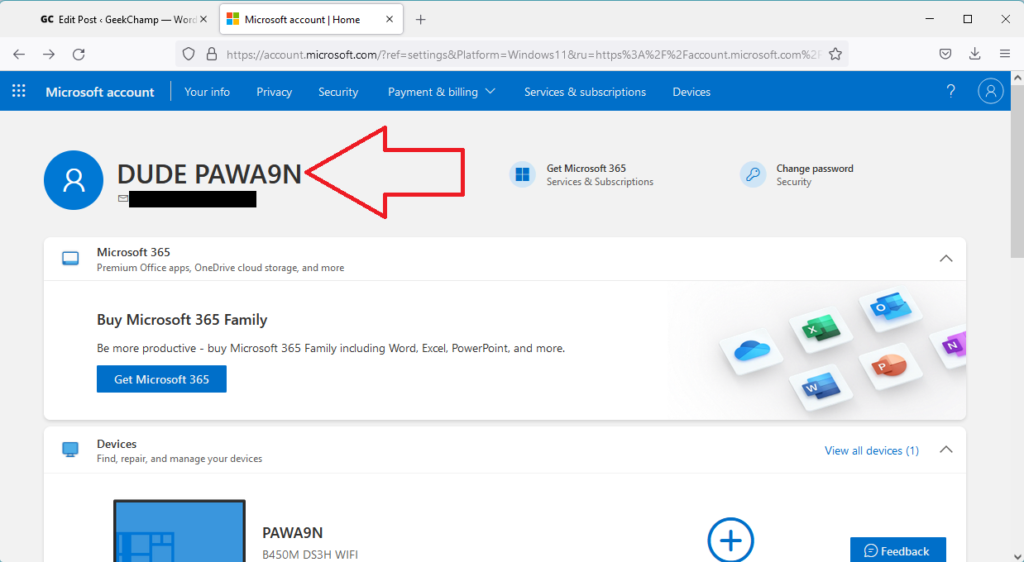
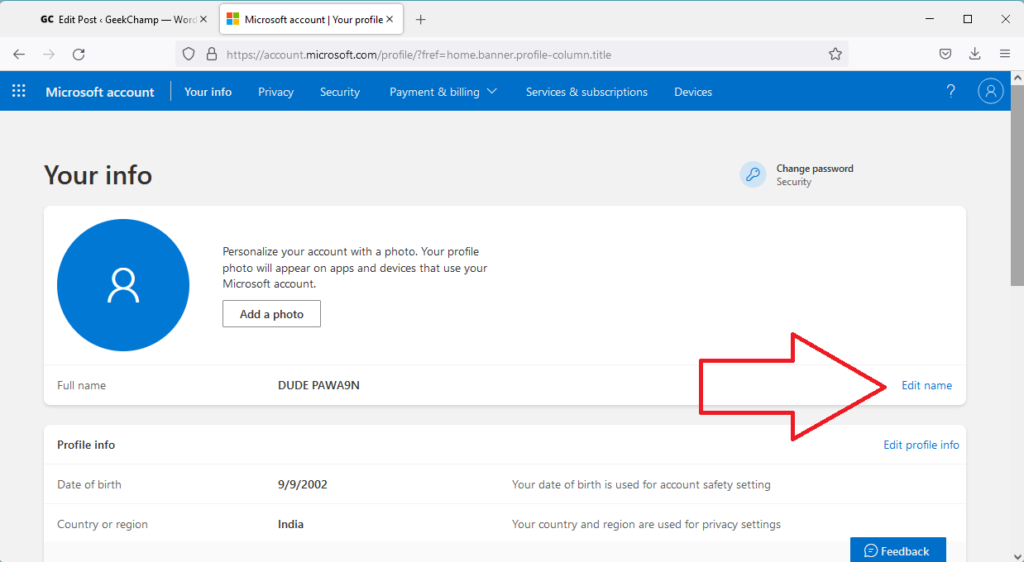
The default settings app on Windows PCs allows users to make changes on their computers. It includes changing the account name as well. So, If you want to change your account name in your Windows 10 or Windows 11 running PC, you can easily do it with the help of settings. Follow the below steps, and you will be good to go. Step 1: Open Settings on your PC. You can open it from App Drawer or type Windows Key + I on your keyboard. Step 2: Under Settings, tap on Accounts. On the next screen, tap on Accounts and then Manage my Microsoft Account. Step 3: Sign in with your Microsoft Account. Enter the credentials to get signed in. After signing into your account, tap on your profile picture in the top right corner. Step 4: Tapping on the profile picture will take you to the Your Info page. On the Your Info page, you will be able to see the name of your Microsoft Account along with an Edit Name option next to it. Step 5: Tap on Edit name and Enter a new account name, including your First Name and Last Name. Once done, tap on Save. Following the above steps will change the account name. Now all you need to do is Restart your PC to take these changes into effect.
Final Words
Changing account names in Windows is a relatively straightforward process. There are three different ways one can change the account name on a Windows PC. All those ways are explained above in the article. You can change the account name using Advanced Control Panel, Control Panel, or Settings. Follow any of the methods, and the result will be as per your expectation. Which of the above way you will prefer to use to change the account name in Windows. Do let us know in the comments.