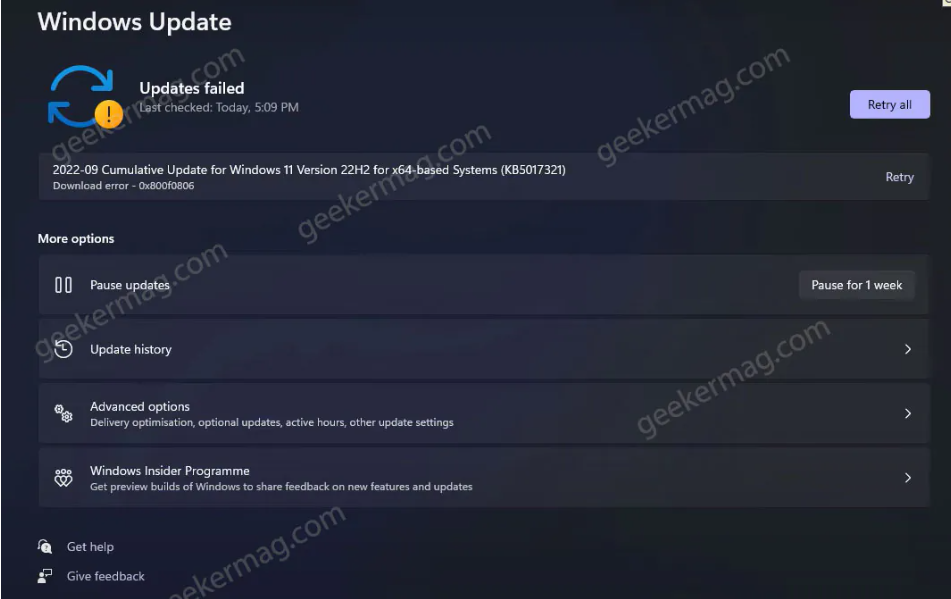
Some users are unable to upgrade their PC to Windows 11 22H2 update via settings. As per their reports, whenever they start installing the update it gets stuck at a particular percentage and later throws the download error code 0X800f0806.
Fix Windows 11 V22H2 Update Stuck On Installing (0X800f0806)
If you landed on this blog post, then it’s possible that you’re facing the issue when installing Windows 11 22H2 update, right? Fortunately, there are possible solutions that you can use to fix the issue.
Run Windows Update Troubleshooter
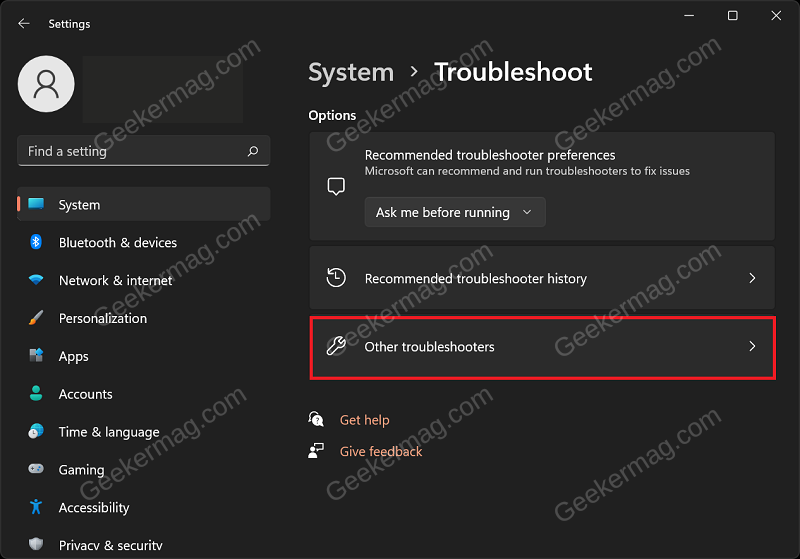
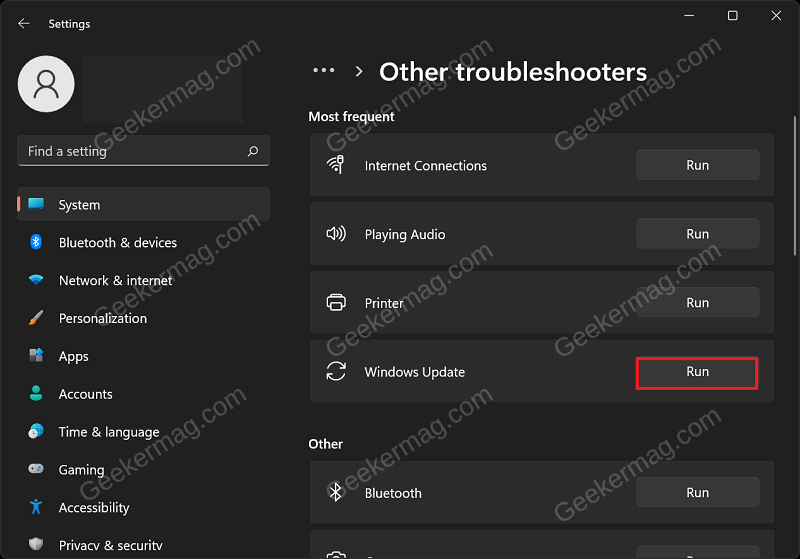
If the Windows 11 v22H2 update is stuck on installing, try running the Windows Update Troubleshooter. You can do so by following the steps given below- Open the Settings app by pressing the Windows + I key combo. Here, in the System tab, click on Troubleshoot option. Now, click on the Other troubleshooters option. Click on the Run button next to Windows Update troubleshooter. Follow the on-screen instructions to run the Windows Update troubleshooter, which should fix the issue.
Reset Windows Update Components
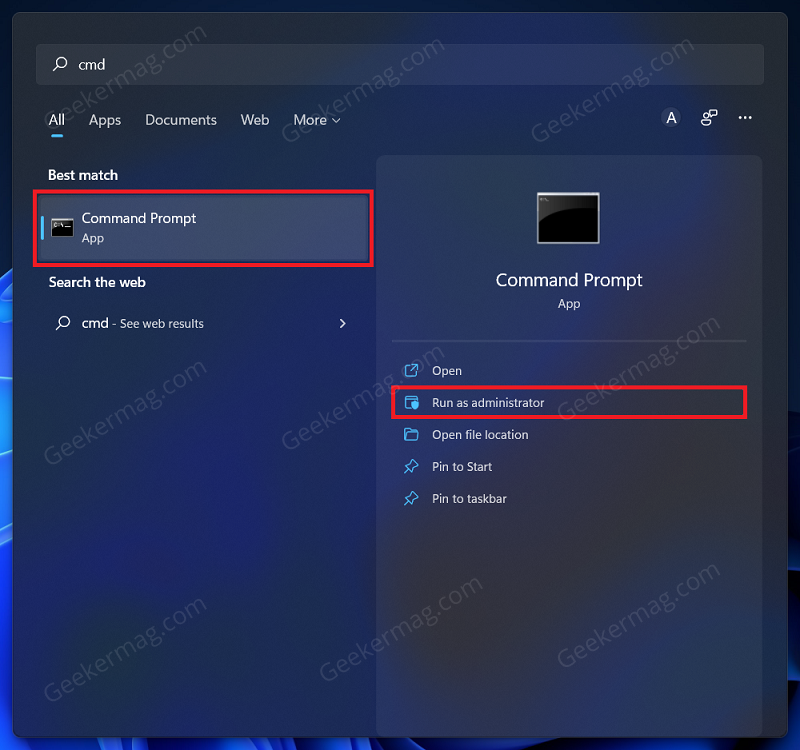
If you are facing this issue, it may be because of corrupted Windows Update components. You can try resetting the Windows Update Components to fix any issues you may face due to them. To do so, follow the steps given below- Press the Windows key, and search for CMD. Select Command Prompt from the search result and click Run as administrator. In the Command Prompt window, type and execute the following commands back to back: net stop wuauserv net stop bits net stop cryptSvc net stop msiserver ren C:\Windows\SoftwareDistribution SoftwareDistribution.old ren C:\Windows\System32\catroot2 Catroot2.old net start wuauserv net start bits net start cryptSvc net start msiserver Once done with executing all the commands, close Command Prompt and restart your PC. You will now be able to install the Windows 11 22H2 update. However, if you still face the issue, move to the next step in this article.
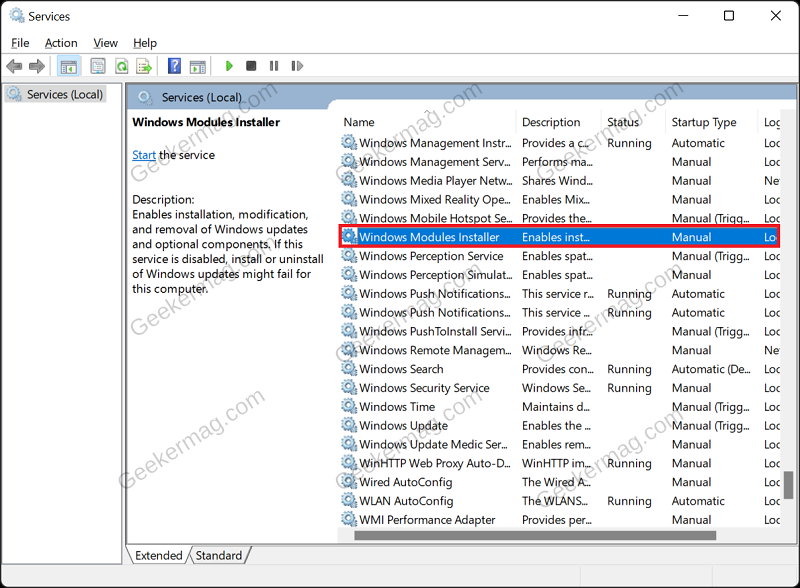
Enable Windows Modules Install Service
Windows Modules Installer service is required to update your Windows. When this service is disabled, you may face issues with updating your device. You will have to check whether this service is enabled or not, and if not, you will have to enable it manually. Press the Windows key on your keyboard to open Start Menu. Here, search for Services and open it. In the Services window, search for Windows Modules Installer. Double-click on this service to open its properties. Check if the service is stopped or running. If the service is stopped, click on the Start button to start it. Once done, click on Apply and OK.
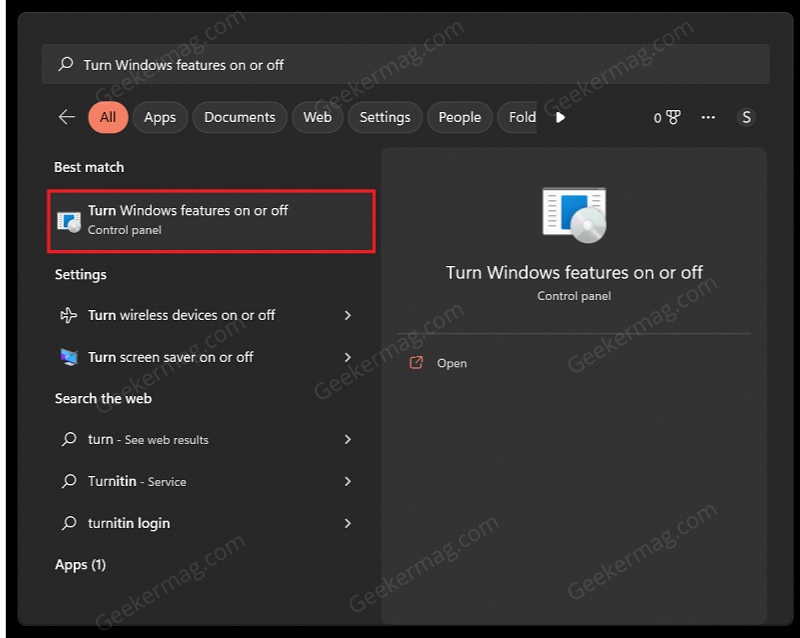
Enable .NET Framework 3.5
To update Windows to the latest version, .NET Framework 3.5 must be enabled on your PC. If this is not enabled, you may face issues while installing Windows Update. To enable it, open the Start Menu, search for Turn Windows Features On Or Off, and click on the first option. Ensure .NET Framework 3.5 and .NET Framework 4.8 is enabled. If not, check the checkbox next to them, and click OK. This will install the .NET Framework on your PC. Once done, restart your PC and try installing the update again.
Run SFC And DISM Scan
Corrupted system files can also be the reason behind facing this issue. If Windows 11 V22H2 update is stuck on installation, it is probably because of the corrupted or missing system files. To fix this issue, try running the SFC scan to repair System files on your PC. If the SFC scan didn’t solve the issue, run the DISM scan on your PC. This should fix issues due to corrupted system files, and you can install Windows Update.
Clean Boot Your PC
Many times, third-party apps and services may also cause this issue. To prevent this, clean boot your PC and try installing the update. When you clean and boot your PC, it will start only with essential services and programs, so if the issue was caused due to third-party programs, you would not likely encounter it now. Once you clean boot your PC, try installing the Windows 11 V22H update now.
Update Using Bootable Flash Drive
You can create a bootable flash drive with Windows 11 V22H2 update and then update your PC. You will have to create Windows 11 V22H2 flash drive with the help of the Windows 11 media creation tool. Once you are done with creating the bootable flash drive, you can follow our guide to update to Windows 11 22H2 without losing your data. You can use the Windows 11 Installation Assistant to install the latest version of Windows 11, i.e., Windows 11 22H2, on your PC. If you have been facing a problem while installing Windows 11 22H2 update, you can follow the above article to fix the issue.