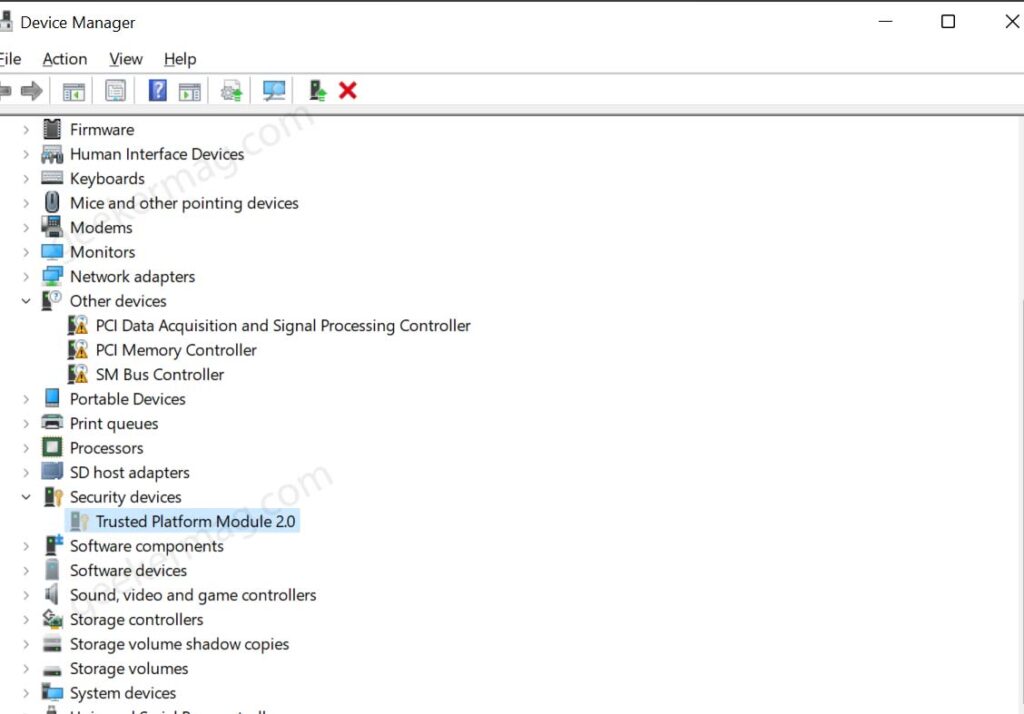
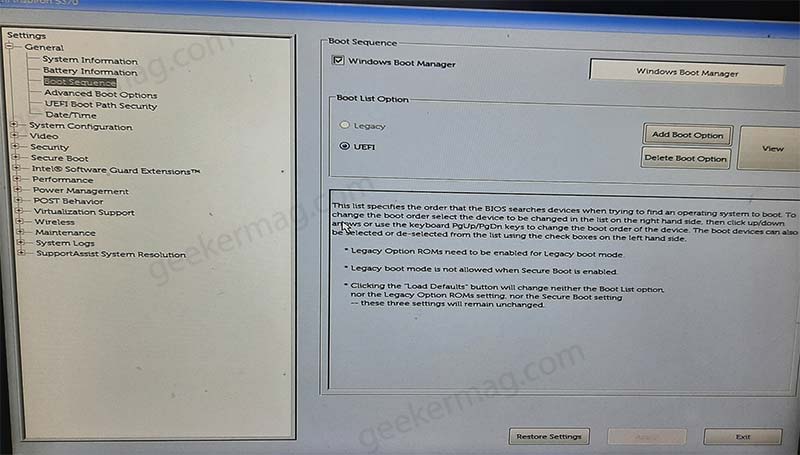
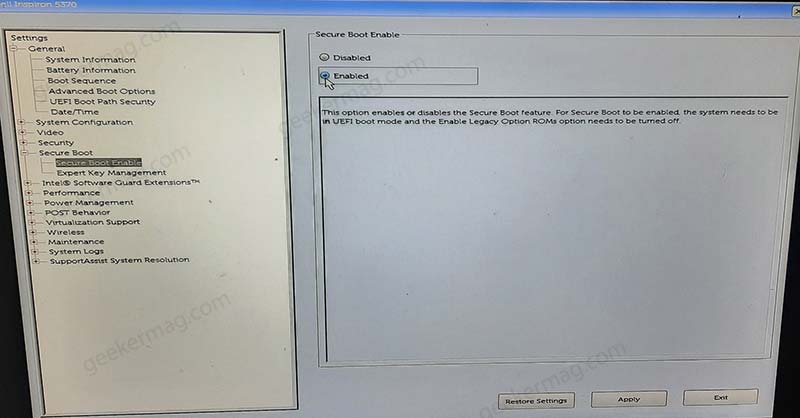
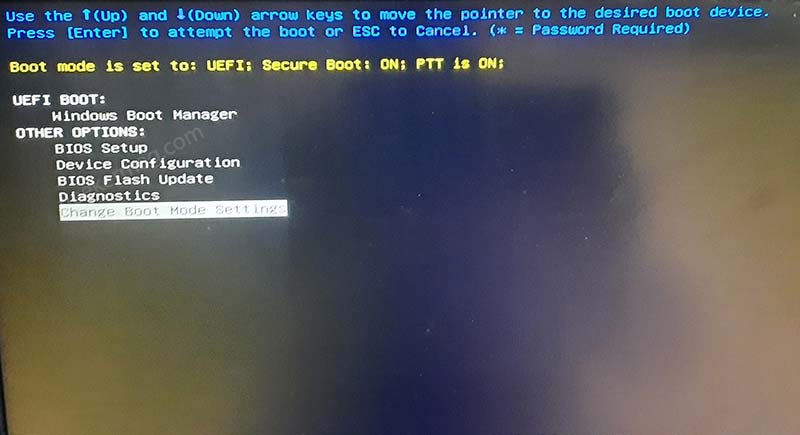
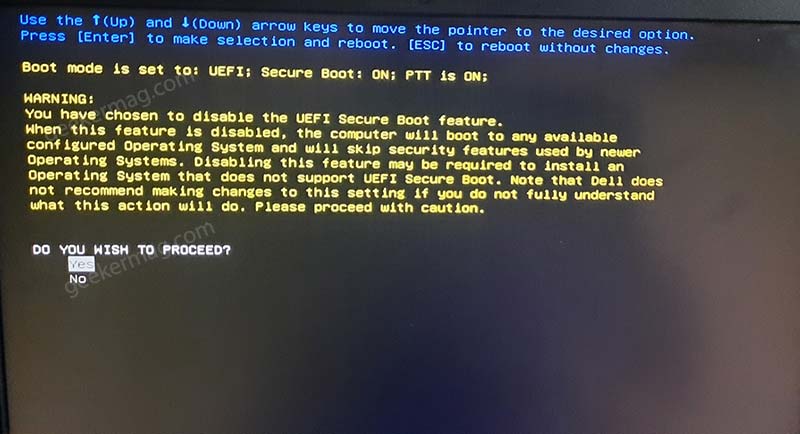
Apart from that, if you launch Device Manager and locate devices, you will notice that Security device are missing from the list. And if you select “Show hidden devices“, then you will find out Trusted Platform Module 2.0 is disabled. According to reports from various users on Dell forum, the manual for particular device states that their device support TPM feature and is enabled out of the box. The issue of popular amount XPS 8000 series or 8930. Affected users have no idea about what causing the issue and how to fix it. If you have been facing the same issue, and want to enable TPM on your Dell XPS 8000, Series, Dell 8930 or other dell device, then following blog post has solution on how to fix this issue. Enabling TPM On Your Dell XPS 8930 First of all, you need to boot into BIOS in on your PC. For that, Press the Power Button to turn on your laptop. As soon as your laptop shows the Dell logo, press the F2 button, and you will be headed to the BIOS menu. In the BIOS menu, switch to Boot Sequence option and select UEFI option When a dialog box appear asking for the confirmation, click OK to apply the changes. Next, Switch to Advanced Boot Options. Here, uncheck the box for “Enable Legacy Options Roms” and then click Apply. Note – It is possible that you might see different option, what you need to achieve is to disable Legacy Boot options. Again, when a dialog box appear asking for the confirmation, click OK to apply the changes. Next, head over to Security tab and then select PTT, click Apply. When click OK in confirmation dialog to apply the changes. This step is optional: Next, Switch to Secure Boot > Secure Boot Enable. Make sure, this option is enabled. If not, click on Apply button and again confirmation the action. Once done, press the F10 button on your keyboard to save the changes you made and exit the BIOS menu. After doing this, your PC will boot in normal Mode and this should enabled the TPM 2.0 feature on your Windows 10 PC. Now if run the Microsoft Tool again. TPM 2.0 will be enabled on your laptop, and you will no longer face the issue. From the options available switch to “Change boot mode settings“. In case, issue is still not fixed, then reboot your computer and when dell logo appear press F12 key to reach One-Time Boot menu. On the next screen, you need to make sure that your device status is “Boot mode is set to: UEFI: Secure Boot: ON, PTT: ON” (In Yellow color shown in screenshot) At bottom of the screen, head over to Change boot mode section and under it select “UEFI Boot mode, Secure boot off” and hit enter. When you receive a screen, you wish to proceed, click Yes. In the Final confirmation page, select Apply the changes option. This will restart your device.