There is three leading manufacture of Graphic cards; NVIDIA, Intel, and AMD, and most of the devices have a graphic card from one of these manufactures. Every device manufacturer fits the best Graphics card (Integrated GPU) according to the specification of the device so that users don’t have to worry about visual experience. On the other hand, games need to make sure that they’re using robust graphics for a better gaming experience.
How to Check Graphics Card in Windows 10
No matter what type of user you’re. If a question “What Graphic card your Windows 10 PC is running” ever hit your mind? Well, you get various options to check graphics cards in Windows 10. In following lines, we will be listing them in this article. Let’s start with first method:
Check Graphics Card from Settings
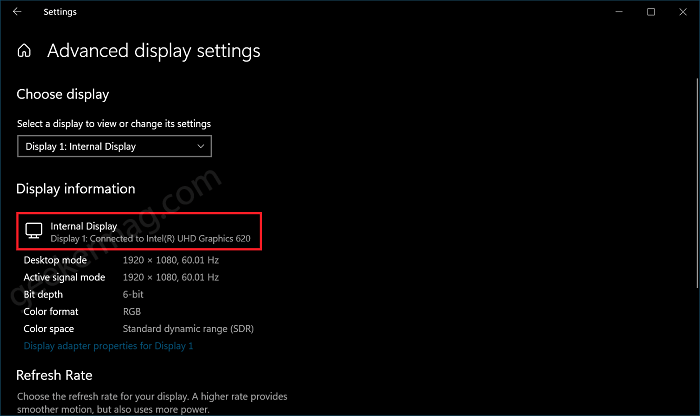
You can check the graphics card using the settings menu on your Windows 10 PC. To do so, launch the Settings app on your PC, and then head to the System section. Switch to Display and then click on Advanced display settings. The advanced display settings screen will be opened. Now under the Display information, you will find the graphic card and its model.
Check Graphics Card from Device Manager
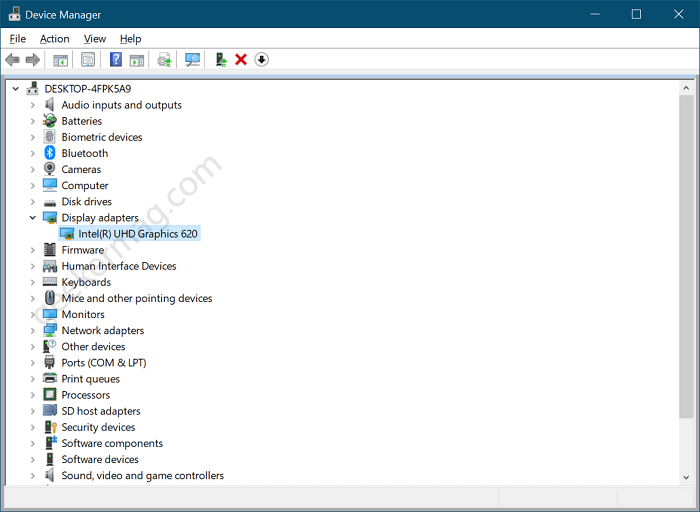
Right-click on Start button and then select Device manager. Here, head over to Display adapter and then click on arrow to expand options. This will open up a list of graphics cards that your computer has. It might display two graphics cards in case there is an integrated graphics card as well as a dedicated graphics card.
Check Graphics Card from Task Manager
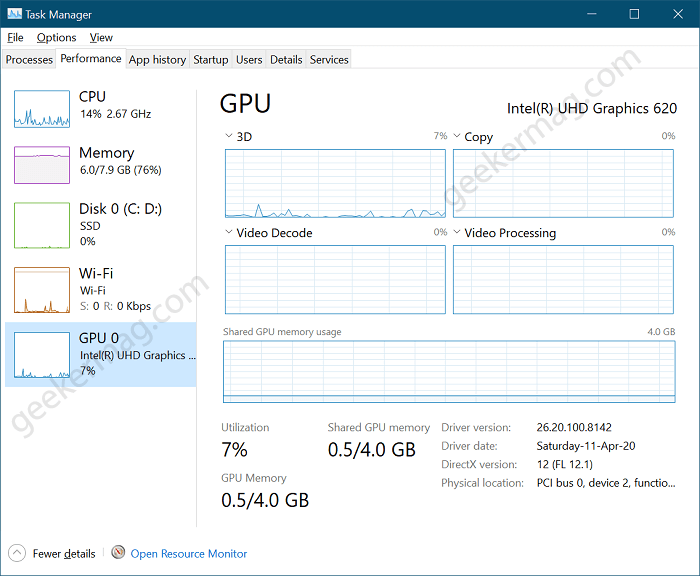
You can also check the graphics card model from the task manager. Right-click on the Taskbar and select Task Manager. In the Task Manager window, you need to switch to the Performance tab. Here you will see GPU on the left sidebar. Click on it, and on the top right corner, you will be able to find the model of the graphics card.
Check Graphics Card Using DirectX Diagnostic Tool
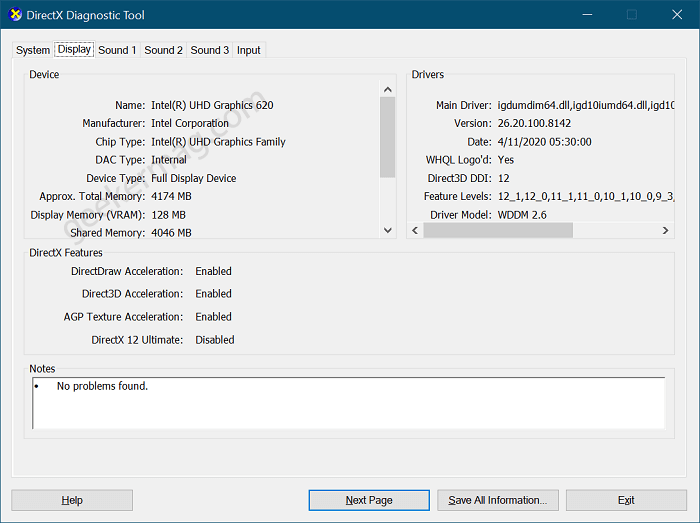
Open the start menu, and then search for dxdiag and when the same app appears in search results, click to open it. Doing this will open DirectX Diagnostic Tool, wait for few seconds to that tool can scan the information. Once done, switch to the Display tab. This will show the information related to the graphic card on your PC. Note that, if your PC has an integrated as well as the dedicated graphic card, then integrated information for an integrated graphics card will be displayed under the display tab, whereas the information for the dedicated graphics card will be displayed under the render tab.
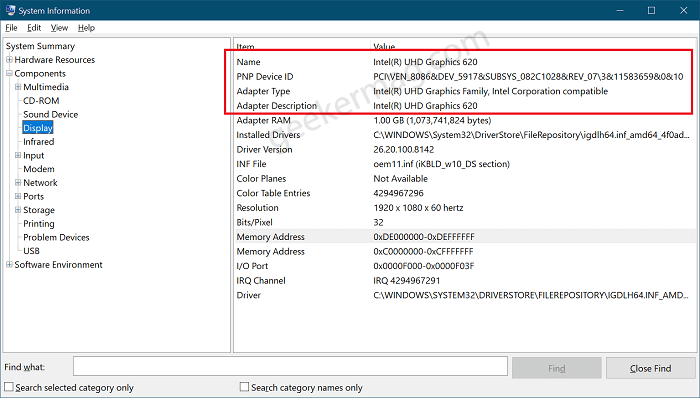
Check Graphics Card Using System Information
You can also find the information about the graphics card on Windows 10 using system information. Click on the search icon available on the right side of the PC and type System information, when the same result appears, click to open it. Now click on Components and then on Display. Now under the display section, you will be able to find the information about the graphics card on your PC. That’s how you can find the information about the graphics card on your Windows 10 PC. You can also check the graphic card control panel to check the graphics card that your PC has.